Because making sushi requires a certain amount of precision as to how you cut your vegetables. And carrots are very difficult to handle in this respect. For that reason, over the years, sushi makers have developed a carrot cutting method, passed on from generation to generation, enabling the most novice sushi maker to cut carrots like a pro. Today you will learn that method.
The guide
End cutting
Pick up a carrot, preferably a evenly shaped one, and cut off the ends.
Split in half
As shown in the flash illustration below, cut it down the middle, length-wise, evenly. It is extremely important to maintain a straight cut in every step of this guide.
Split to layers
Take each half, and cut it down the middle, length-wise, to obtain 4 rectangular pieces, about 0.5 cm thick.
Split to sticks
Now that the hard part is behind you, get ready for the fun part. Cut each piece obtained in the previous step into sticks. The sticks should be of equal thickness.
Carrot “optimization”
To optimize your carrot sticks, it is best to adjust their length to that of half a nori. Then you won’t have to deal with cutting the ends of your roll with extra carrot sticks sticking out. Another carrot optimization tip is to boil the sticks for 3-4 minutes, to make them easier to cut and chew.
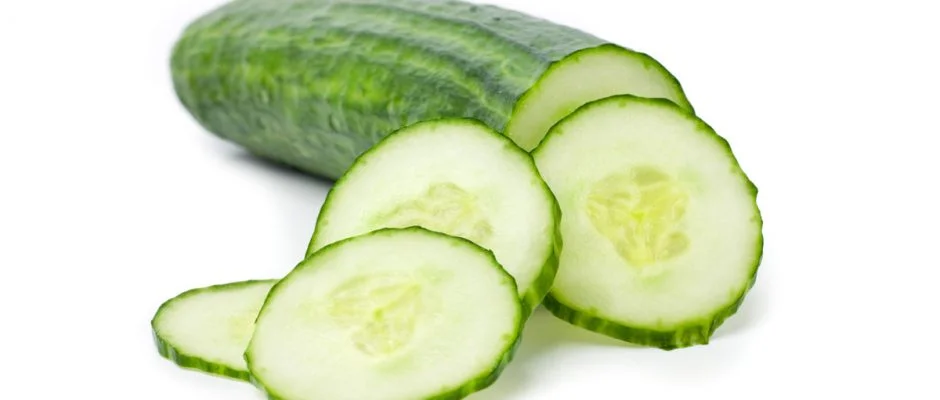
Because making sushi requires a certain amount of precision as to how you cut your vegetables. And carrots are very difficult to handle in this respect. For that reason, over the years, sushi makers have developed a cucumber cutting method, passed on from generation to generation, enabling the most novice sushi maker to cut cucumbers like a pro. Today you will learn that method.
The guide
Split in half
Pick up a cucumber, preferably an evenly shaped one, and split it along the middle as evenly as you can. Taking off the ends is optional, I chose not to.
Take out the core
If you followed the first step correctly, you should have half a cucumber in your hand. Don’t worry, it’s perfectly normal. With a sharp knife, take the cucumber core, again, as evenly as you can. Bare in mind the that this cucumber is going to be cut into sticks, hopefully even ones – so taking out the core plays a great part in this – if you take it out evenly, you’re going to have even cucumber sticks.
Split into sticks
Face the cucumber down, and with a sharp knife cut it into 1/2 cm thick sticks. Once your are done, you might want to hold all the sticks together and cut the ends to ensure that they are all the same length (preferably the length of half a nori sheet) – but this is also optional.
So, you want to know how to eat with chopsticks? Then you are in the right place!
Although many believe that eating with chopsticks took place for the first time in China as part of some cultural development, we at MakeMySushi think it was actually invented by a group of yuppies whose entire goal was making others feel bad about eating with a fork and a knife. Today you will learn how to join them.
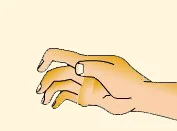
Show me your hand
Reach for your right hand. If it looks nothing like the one in the image below – no worries, we are accustomed to these kind of situations.
A right hand
Identify the fingers
Identify the fingers shown in the video below (click the “play” button on the top left corner). They will be of great use during this procedure.
Insert first stick
Grab the first chopstick in your hand, and place it in the root of your thumb, and also between fingers B and C – as shown in the video.
Insert second stick
Now pick up the second chopstick, and in a typical Japanese delicacy, place it between your thumb and finger B. It might be confusing at first, but there is no actual contact between the second stick and finger C.
Start chop sticking
Well you’re almost there! how does it feel? Alright calm down please, there is still one more thing left to do. Gently but firmly, tilt finger B to create a slight movement of the upper stick towards the lower stick until you gain contact, and then retreat. pretty groovy heh?
This is it, you are now one of those yuppies we talked about. Go on and impress somebody close to you with your new skills. If you think you are really good at this, try and grab a single piece of rice with your chopsticks. Got it on the first attemp? You must be a natural born chopsticks user.
Because shaping it like a sushi roll won’t be that original now would it?
Besides, making a tasty roll is only half the job, you gotta make it look good. Of course there are many ways to make your sushi plate look a bit more original and attractive, but none of these come even close to serving sushi you made along with an octopus made from nothing else but wasabi. none.
How do you make wasabi octopus for sushi?!
Step 1 – Begin by taking a small round piece of wasabi, and start rolling it against the surface to create a finger like shape. This should be a small piece of wasabi, about half a spoon.
Step 2 – Take a pen you have hanging around, preferably a new pen, and remove it’s ink container. Use the pen tip to make little holes on the wasabi – to imitate the octopus’ suction cups.
Step 3 – You should make a few of those octopus legs, eight if you want to be precise. Trust me, in every sushi party there must be a guy to ask why the octopus has only seven legs so, either make it eight or find a good answer for it. Maybe “the rest of his legs are in the sushi” can work once or twice.
Well. Now that the legs are done all that is left is the body. Take a bigger piece of wasabi and round it into a ballish shape only that top should be bigger than the base like in a real octopus. Put it all together and voila!
Step 4 – Feel free to make your wasabi octopus your own personal and exciting sushi gimmick, and don’t forget to post a picture of it on our forums.
Wasabi, also known as “Japanese horseradish”, is a hot Japanese spice root and an important member of any sushi table. Some like to mix it with soy sauce bowl for dipping, and some prefer to place it directly on the sushi just before they eat. For more information about the origin of wasabi check out wasabi on Wikipedia.
Wasabi products for sushi can be obtained in Asian food stores in the form of dried powder or ready to use paste, and used in very small doses (pea-sized or less). In order to fully enjoy your Wasabi – you should use the dried wasabi powder to produce your own fresh wasabi paste – the following guide will walk you through this simple process.
Let’s make some Wasabi!
Take out the wasabi
Since the wasabi powder needs to stay dry when kept in order to stay fresh – try carefully not to dent the can top when opening so, this way your wasabi can last for a long sushi making period.
Use a dry tea spoons (or pour gently right from the can as shown in the animation). 3-4 teaspoons should be enough for a sushi session depending on your personal wasabi consuming habits.
Add water
Add a small amount of cold water, about 1:1 ratio with the amount of wasabi powder you used and stir until a solid mixture is obtained. Now you need to gently balance the mixture with a bit more powder if you like your wasbi thick, or water if you want it to be thinner.
Decorate
Now that the wasabi paste is ready – you can form it into shapes – try to be original and surprise your sushi guests!
Bon appetite!
First things first, let’s start with the tempura mix. The tempura mixed can be made from scratch, or using an instant tempura powder. This recipe uses instant tempura powder. If you are interested in being less lazy than I am, there is a good recipe for making tempura mix from scratch by “go-japanese”.
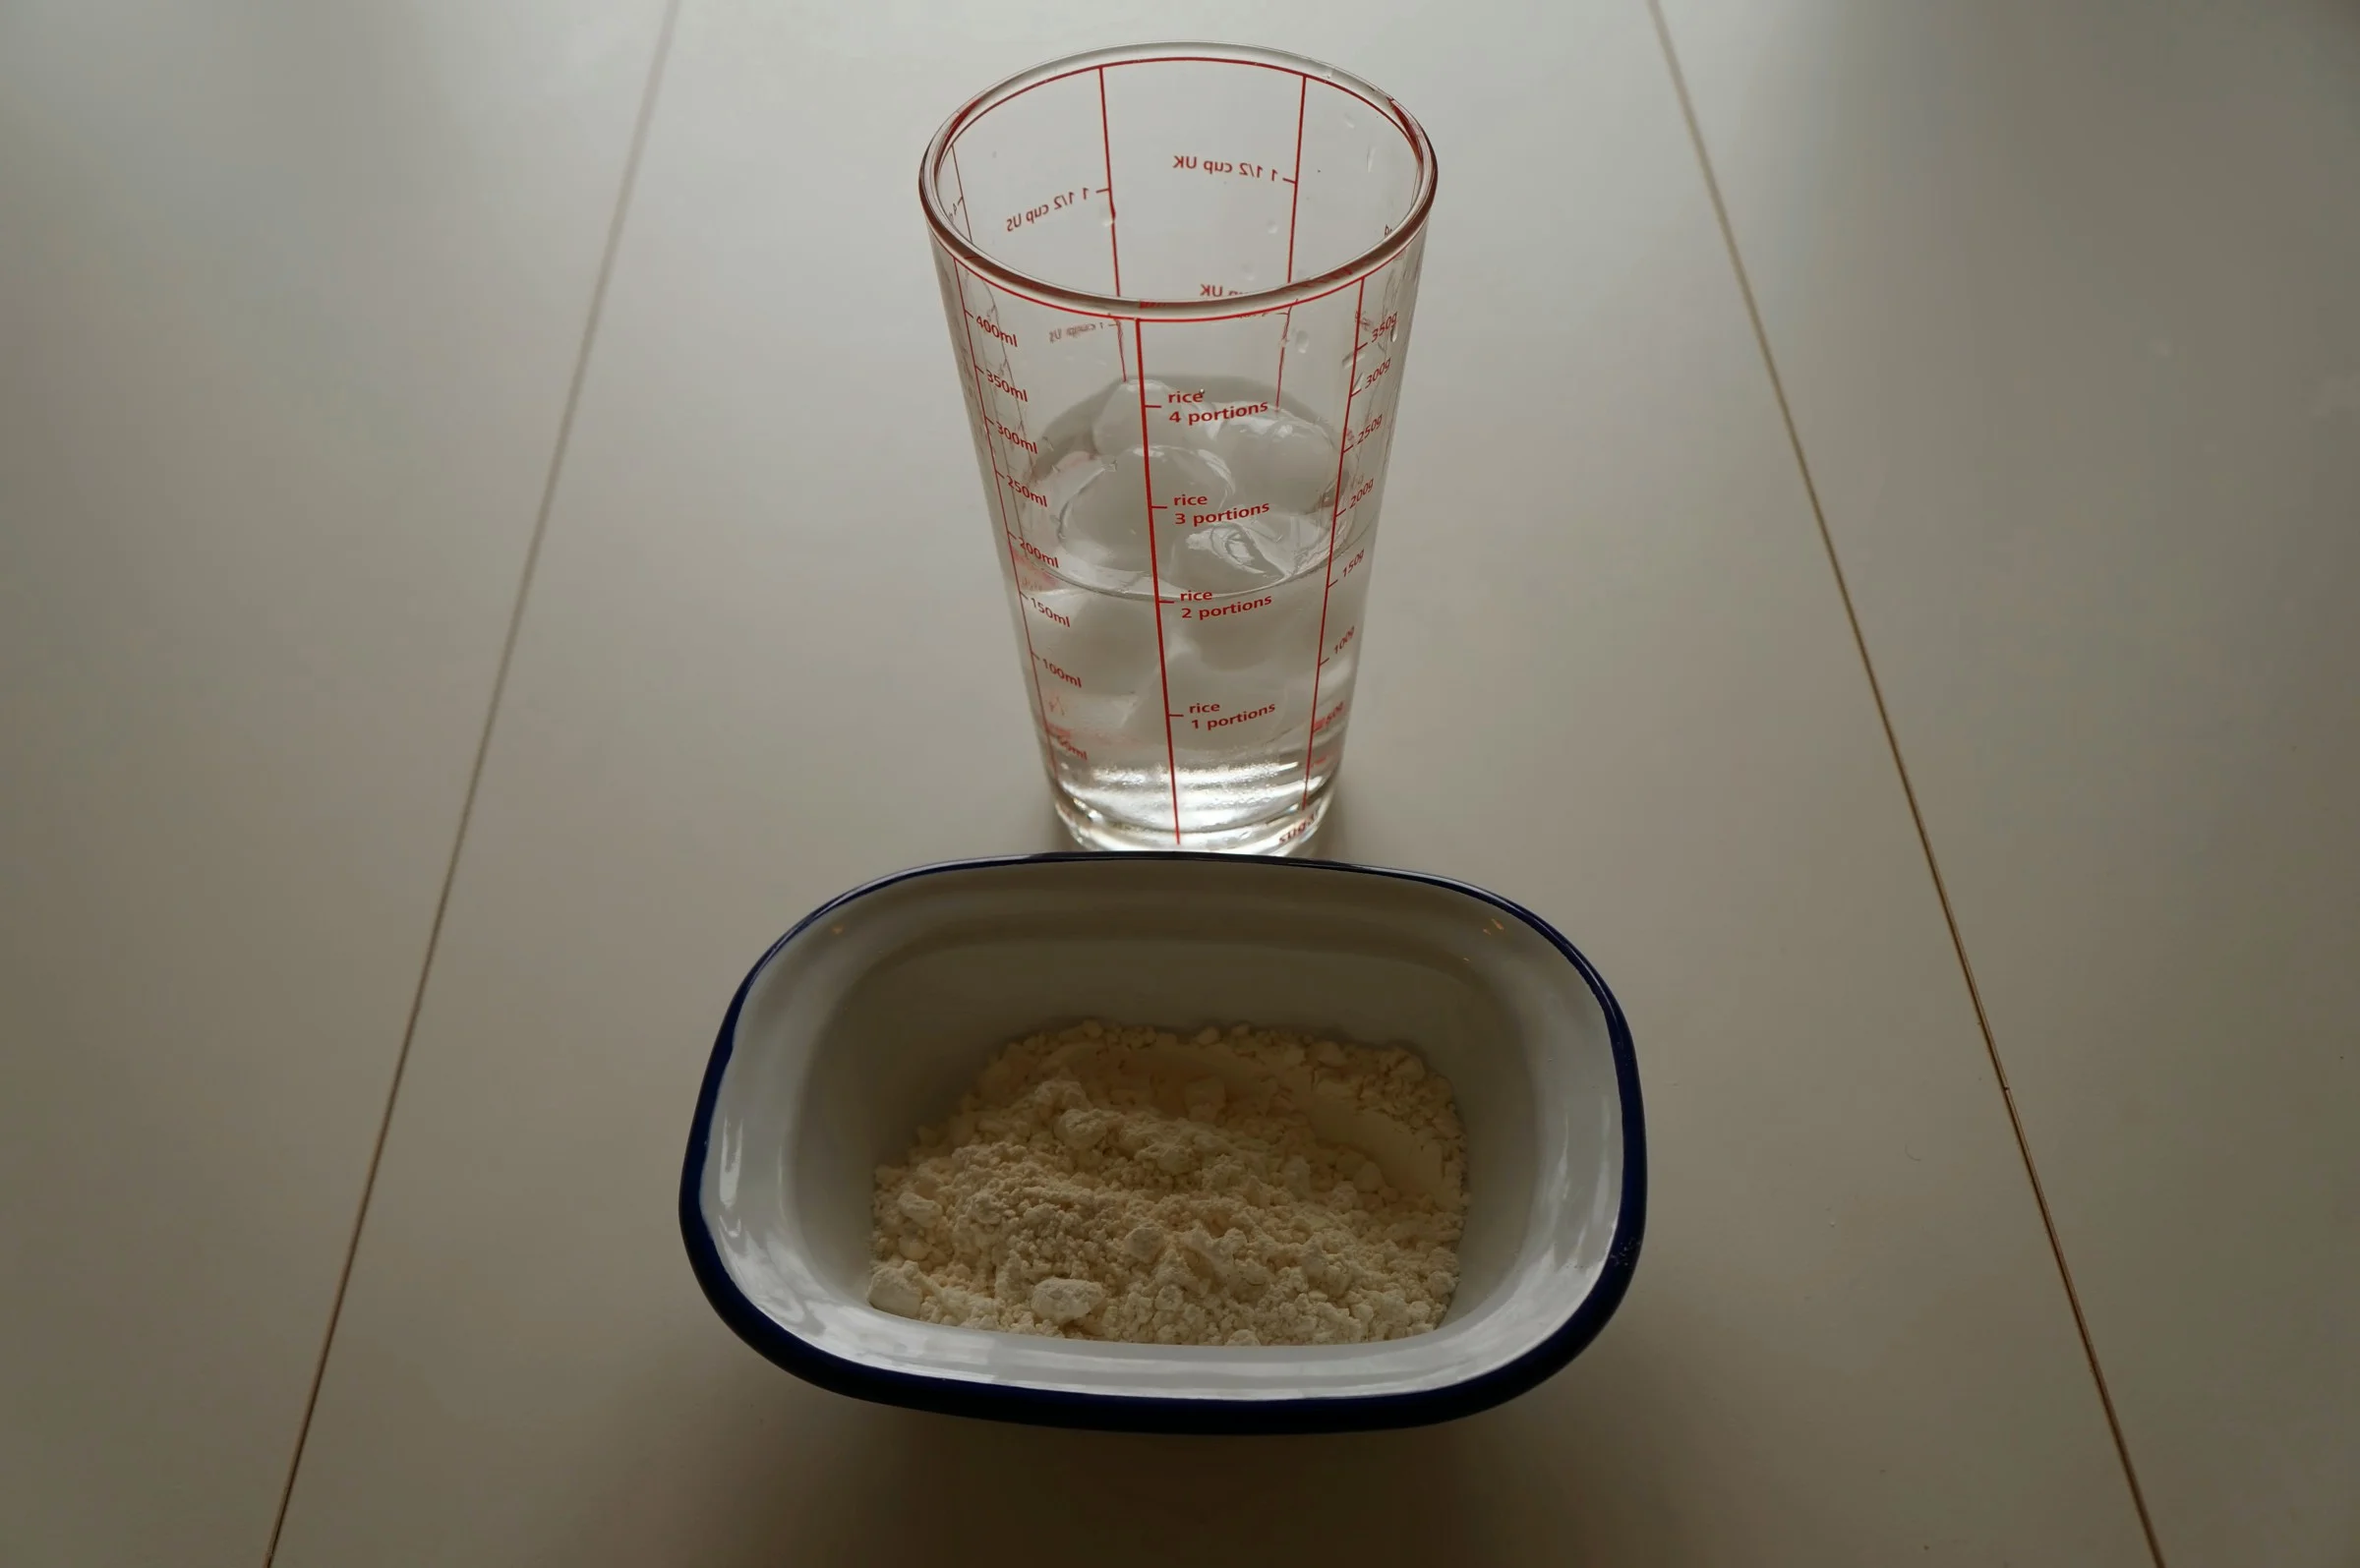
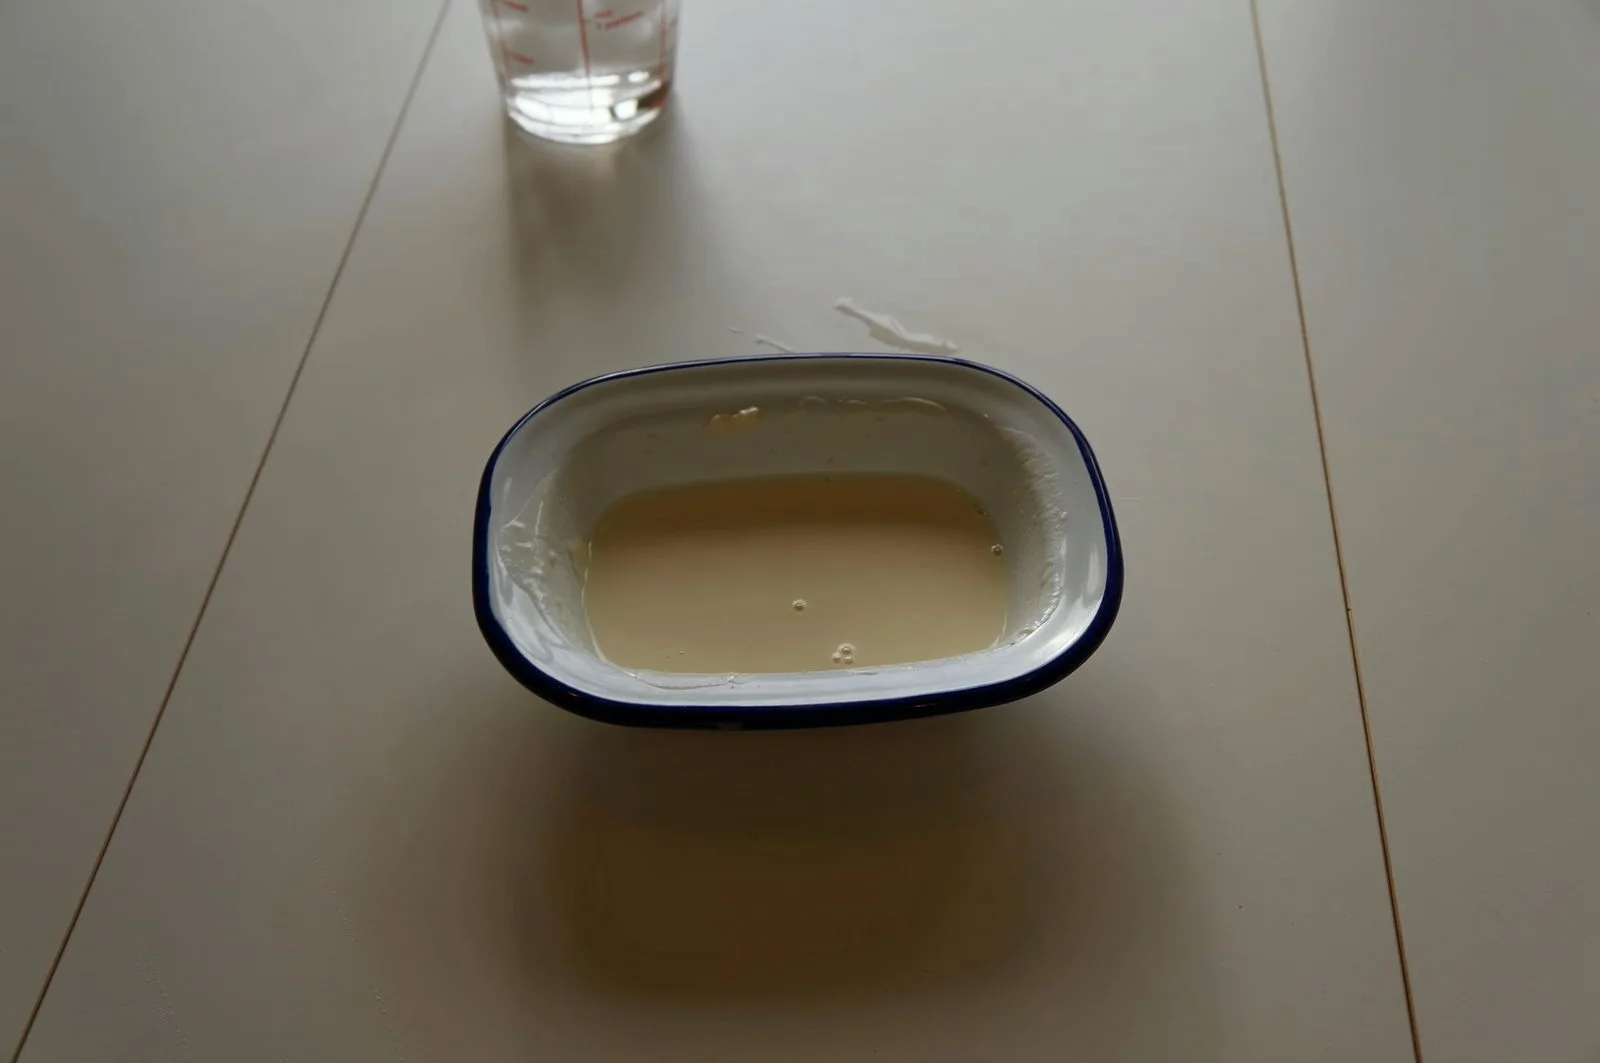
For this recipe we will use 3 table spoons of store bought tempura powder, and 3 table spoons of ice cold water. It is important that the water is as cold as possible, so make sure to add a lot of ice to the water and let it sit for a few minutes.
With a spoon, add water to the powder in a ratio of 1:1. Add more powder or water to change the texture of the mix if you feel needed. When mixing, mix very gently to keep the mix as flat as possible – try to avoid creating bubbles in the mix. It is okay if the mix is a bit lumpy, but a bubbly mix should be avoided.
The result should look something like this.
The shrimp (or prawns)
At this point it is important to clear out that you can use shrimp or prawns for this recipe – depending on which you prefer or simply what you have in your kitchen. So the recipe mentions shrimp referring to either shrimp or prawns.
Peel and devein
Frozen shrimp is likely to be peeled and sometimes even deveined. If not, you will need to do it yourself. I’d like to invite chef Gordon Ramsay to explain the process.
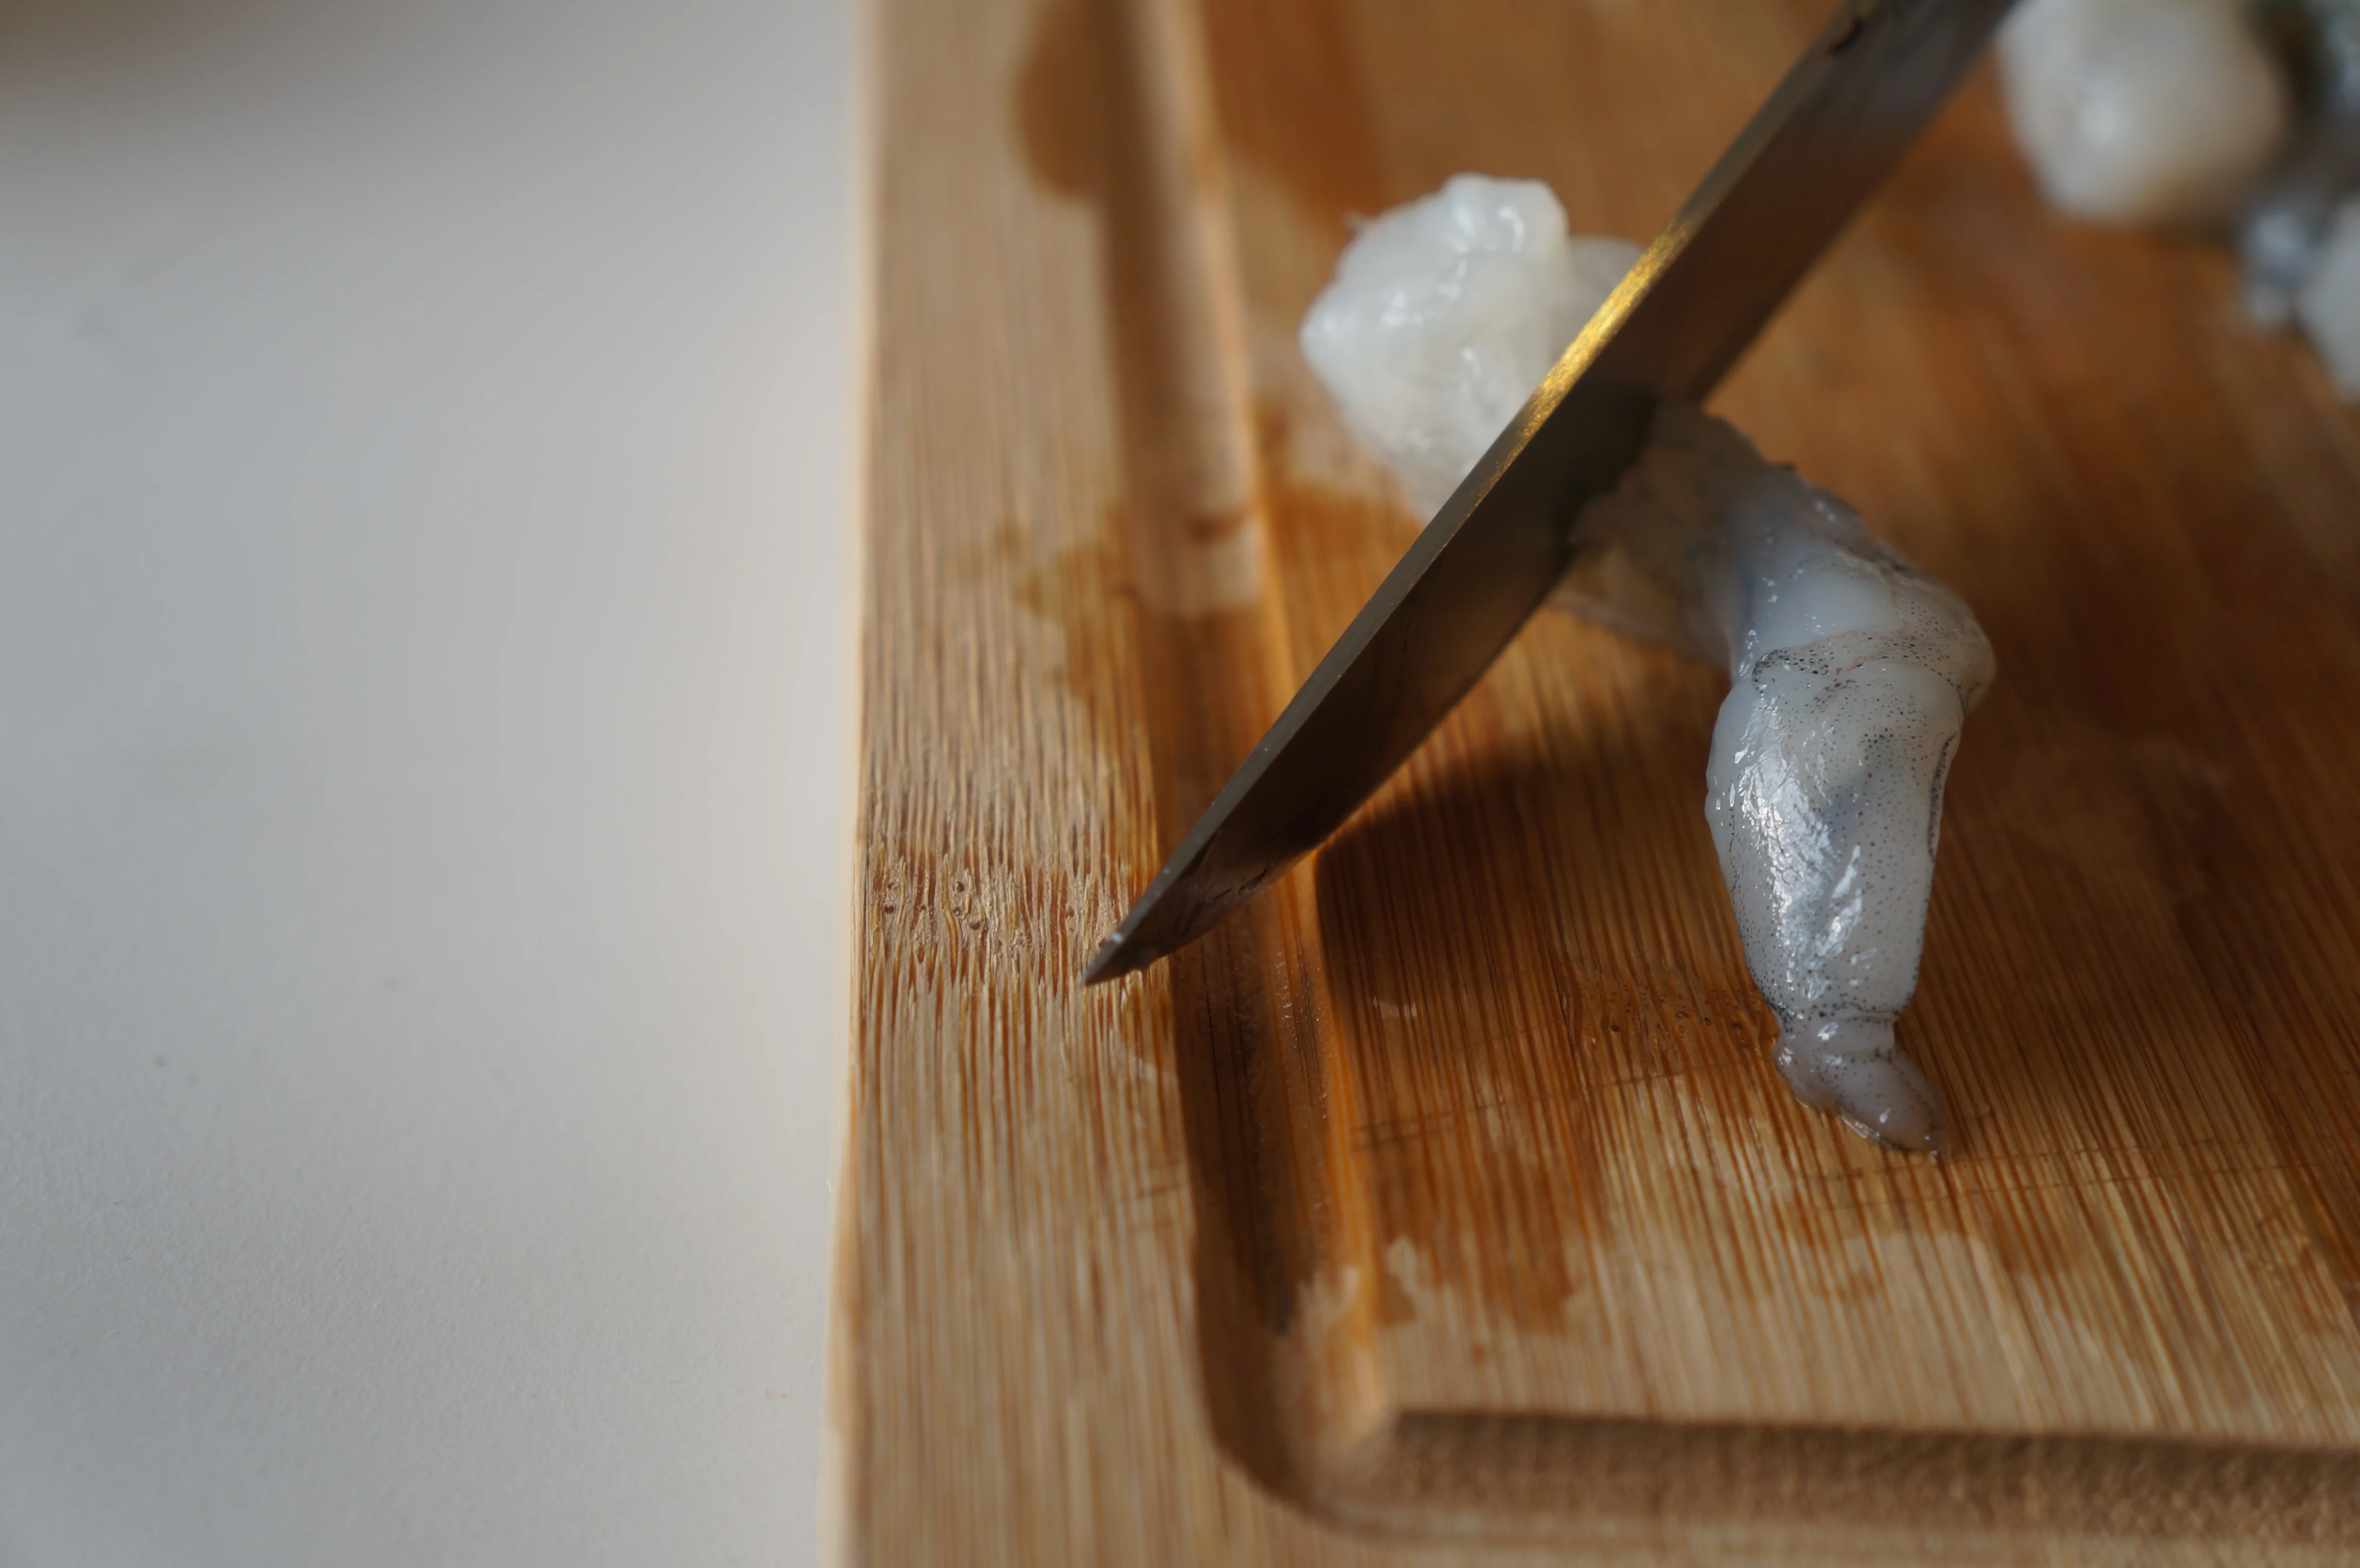
Make slits
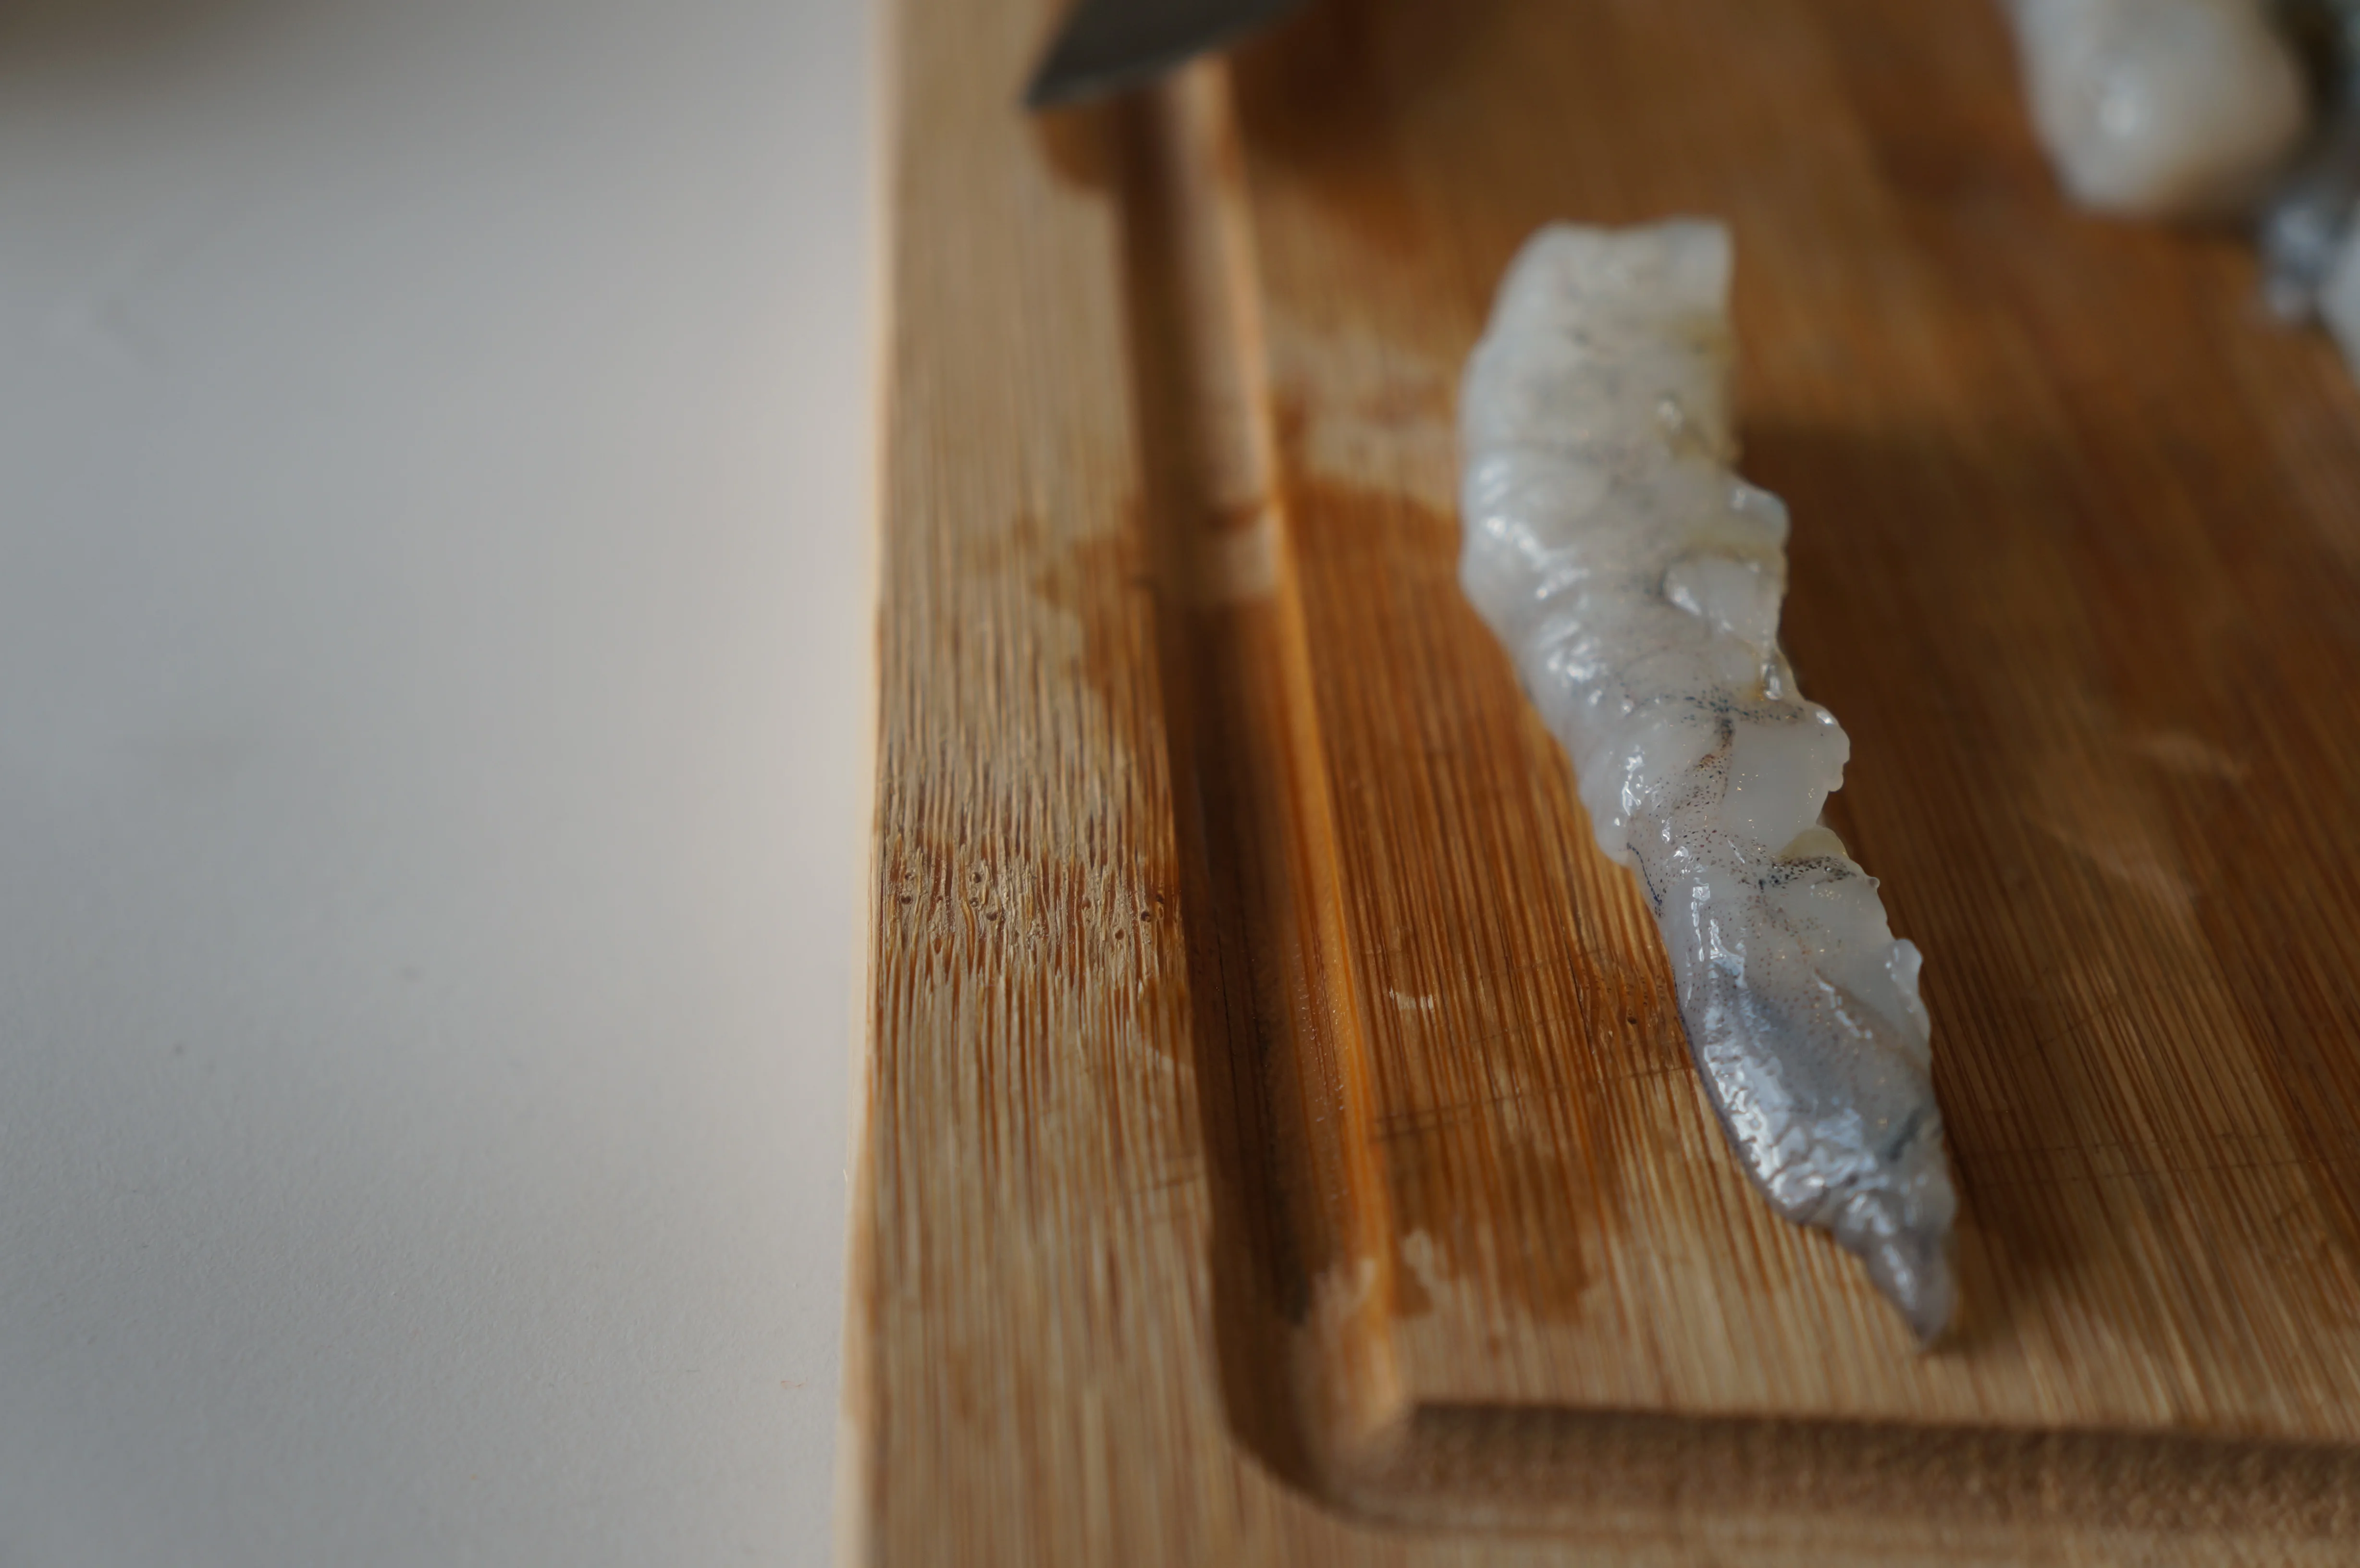
When fried, the shrimp tend to curl too much – so you want to straighten them up beforehand. We do it by making two slits across the “belly” at each one-third point as shown below.
After making the slits, flatten the shrimp onto the board with your hands applying slight pressure.
Setting the fryer
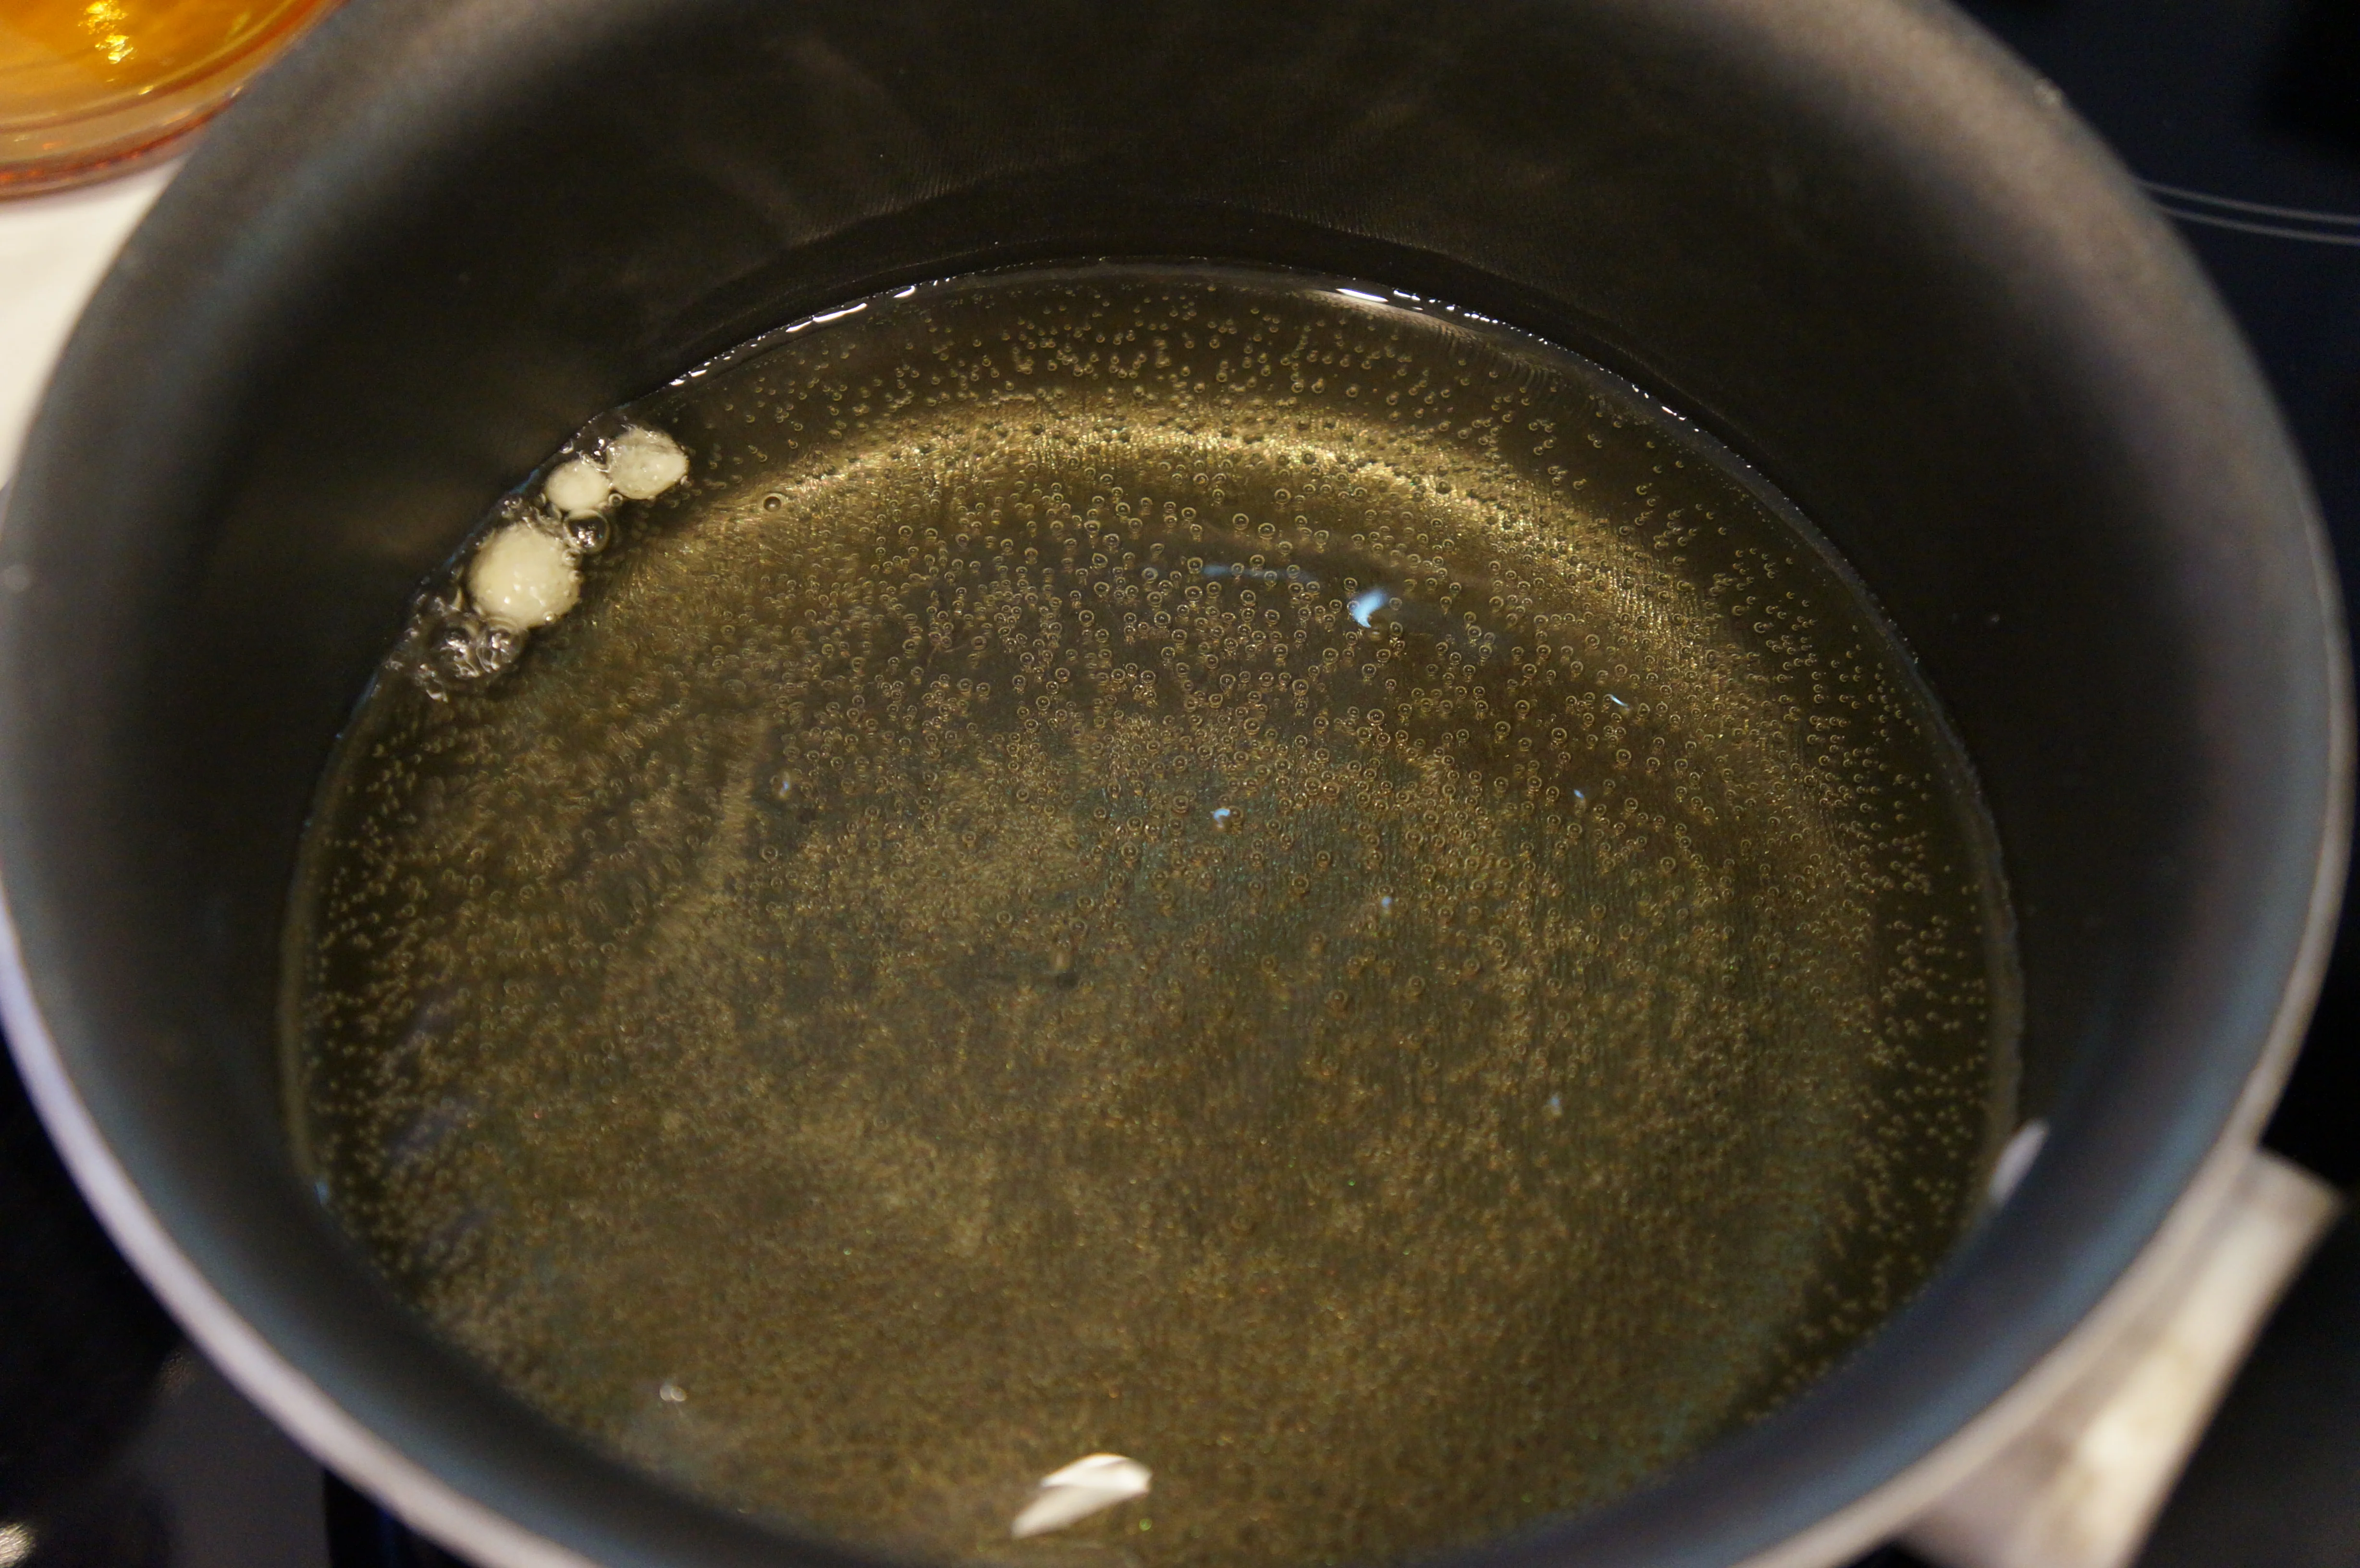
Heat up deep oil in a small thick bottom pan – or use a fryer if you have one. Leave the pan on max heat for a few minutes until hot enough for frying.
The optimal amount of oil to use is 2X the shrimp height – or approximately 2 inch (or 5 cm).
One trick to tell when the oil is hot enough is to drizzle a drop of tempura into it. When the tempura starts sizzling, the oil is ready and heat can be reduced to medium.
Oil is hot enough
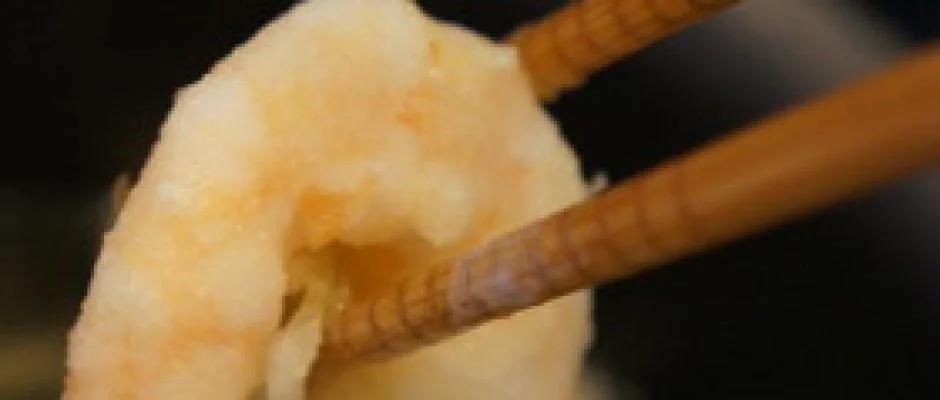
Dip & fry
One by one, pick up a shrimp with chopsticks and deep it in tempura. Make sure it is fully covered, and put in oil. It should fry for about 10-15 seconds until crispy golden. You can do 3-4 at the same time but not more as oil temperature needs to remain as stable as possible.
Once finished, put the fried tempura shrimp to soak on a kitchen paper towel and cover with another paper towel. Never store in a closed compartment as locked steam will make it soggy.
Final thought
Shrimp tempura roll is my all time favorite! It can be served on its own as a starter dish or as the main ingredient in Sushi rolls like the Dragon or Caterpillar rolls. When preparing quantities, make sure to make a few more than you need as some tend to “disappear” just right after preparation.
Got questions or comments? Talk to us! Use our wonderful comment system below.
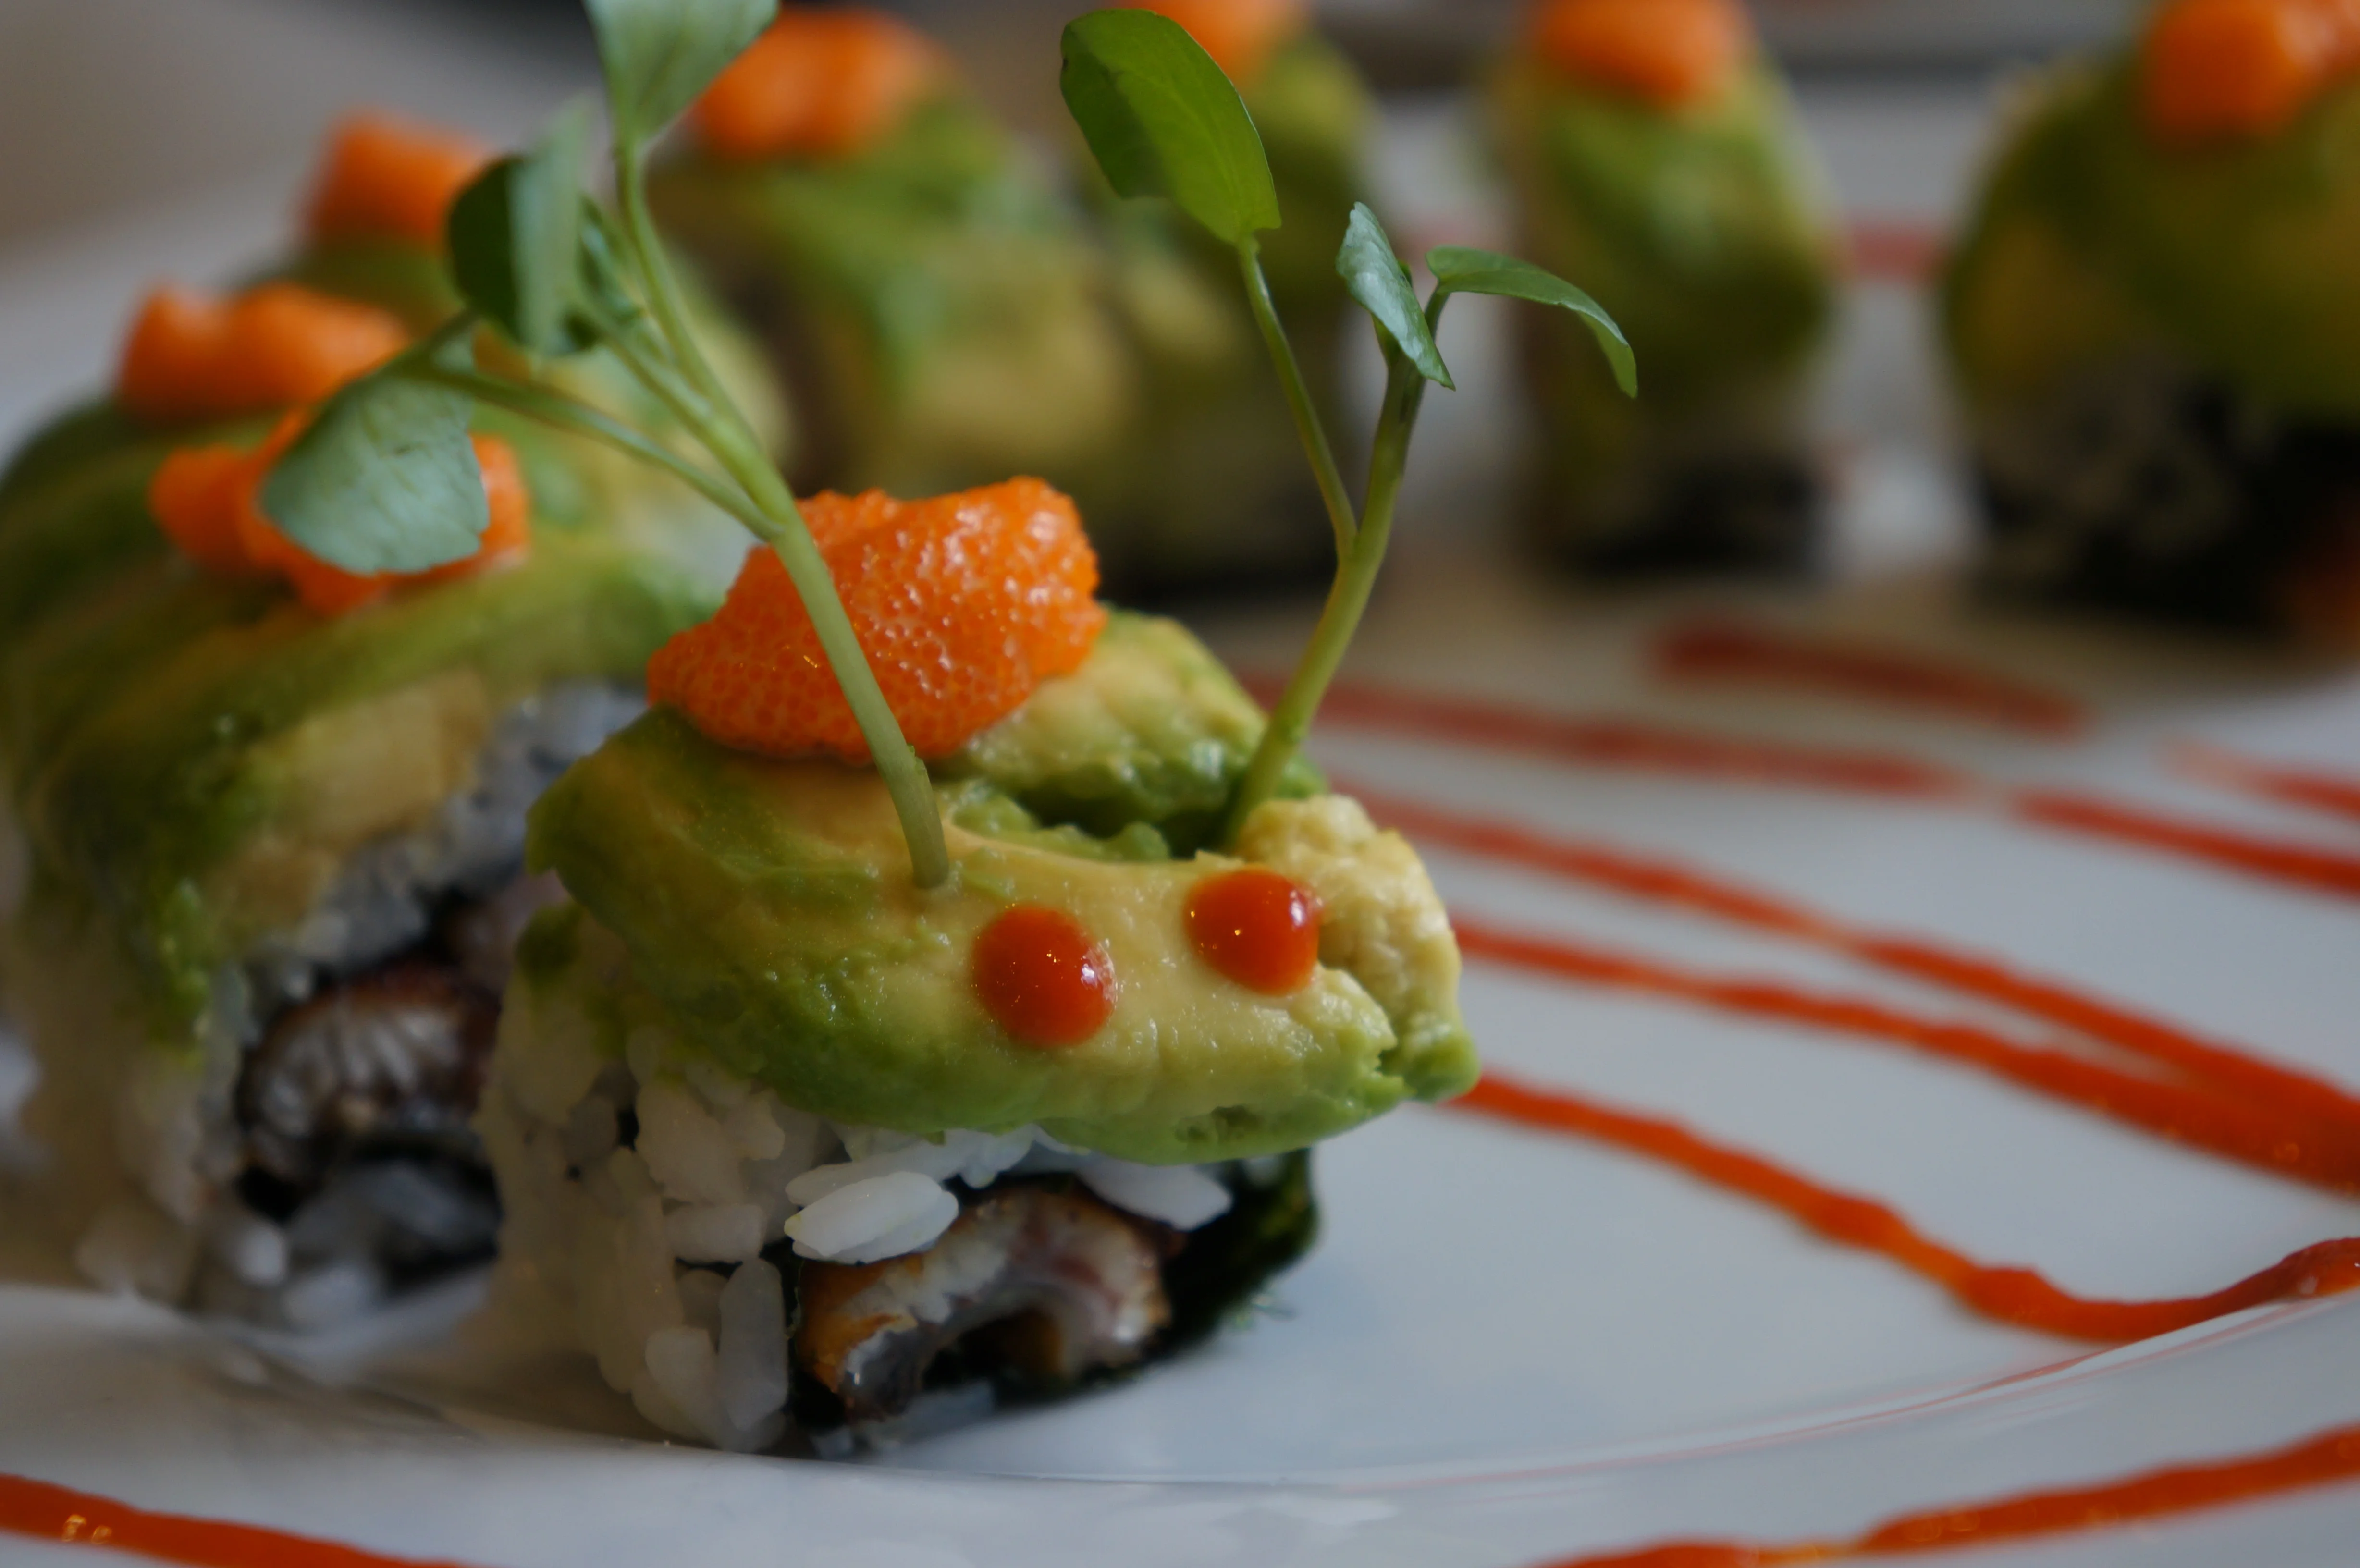
Please enjoy this picture of a Caterpilla Sushi Roll.
Sushi is a healthy meal when prepared and served properly. When serving raw fish in Sushi or Sashimi, make sure the fish product is safe to eat raw. This is commonly stated by the supplier as “Sushi safe” or “Sashimi safe”. If the packaging does not state it, consult your fish supplier before consuming it raw.
Also note that pregnant women and health risk groups should not eat raw fish at all.
According to European Union regulations,freezing fish at −20°C (−4°F) for 24 hours kills parasites. The U.S. Food and Drug Administration (FDA) recommends freezing at −35°C (−31°F) for 15 hours, or at −20°C (−4°F) for 7 days.
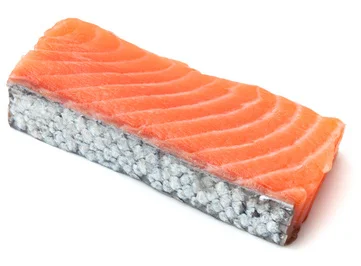
The Fish Society features sushi grade products such as: salmon fillets,smoked salmon, smoked eel fillets, smoked rainbow trout, Arbroath smokies, and kippers and more.
Delivery is by overnight parcel service. Orders leave us at 4pm and are delivered within 24 hours. We use thermo-proofed packaging and dry ice to ensure the fish stays in top shape and can simply be dropped into your freezer upon arrival. All packs are neatly labelled and marked with a use-by date.
Fine Food Specialist have a variety of, well, fine food. They offer Otoro tuna, Tobiko, crab meat and all sorts of specialties in addition to sushi grade tuna and salmon. Prices are sometimes high as well as the minimum quantities. After sampling some of their flagship products I can say they are well worth the price tag.
In the United States
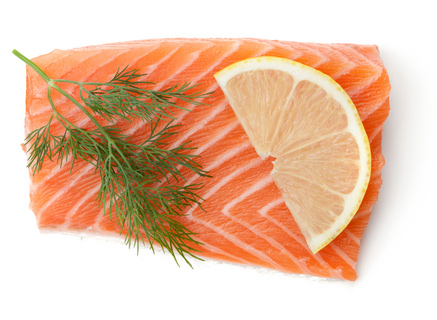
Vital choice offers A variety of sushi grade products, safe to eat raw. Click the image below to get to their online store where you can purchase sushi grade fish online. The products are delivered fresh-frozen. Just before you order, check the details on the “Serving/Storage” tab on the product page, to make sure the fish/sea food product you selected is indeed safe to eat raw.
Catalina Offshore Products has been selling the finest seafood to fine dining restaurants and sushi bars for nearly 40 years. You can purchase the very same.
Your local fishmonger
Consult your local fishmonger regarding availability of Sushi and Sashimi grade fish.
Please let us know where you buy your sushi grade fish in the comments below !
Spicy mayonnaise sauce goes great with spicy tuna and other spicy sushi rolls. The hotness of the chilli spices the sushi with an entirely different kind of hotness than that given from the wasabi and mayonnaise contributes to the juicy fatty level of things.
Stir in a small bowl to combine evenly. Make extra sure the hot Sriracha sauce is evenly spread. If not used immediately, store in your refrigerator. The recipe described above has mild spiciness in mind. Make sure you experiment with different ratios of mayo and chilli to accommodate your personal hot sauce requirements.
Usage tip
Once combined, use a spoon to load the newly made hot sauce into a squeeze bottle. If you don’t have one, or if making a small amount, you could also use a snack baggy, and pinch a tiny hole in the bottom. In order to use the sauce, simply squeeze the baggy to let the sauce leave a trail of hotness along the roll.
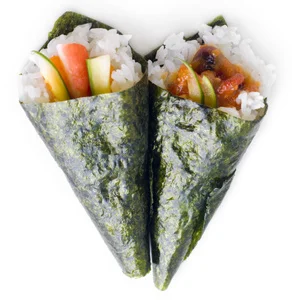
The temaki sushi is rolled by hand, so there is no need for a rolling mat, and its final shape is the cone, so there is no need for a knife either.
Ingredients for 6 sushi cones
3 nori sheets, cut into half
A cup of vinegared rice
180 grams of fish (salmon, tuna, yellow tail, etc..)
Let’s make some cones
Step 1 – Place ingredients
Place the half-sized nori in your left hand, and use the right hand to cover half the nori with rice, about 1 centimeter high. Place a piece of fish and vegetable you desire on top of the rice, diagonally to the nori, as shown below. Keep holding the nori with your left hand, and use your right hand to bring the close nori corner on top of the fish and vegetable, and press it to close tightly.
Step 3 – And the second end
Keep rolling until only a tiny corner of nori is sticking out. Make sure you rolled it tightly, you can still make adjustments at this level.
step 3 – And the second end
Keep rolling until only a tiny corner of nori is sticking out . Make sure you rolled it tightly, you can still make adjustments at this level.
Step 4 – Wasabi time!
In order to make the cone stick together, and for the sake of Japanese flavor, it is customary to put a tiny piece of wasabi on the end of the nori just before you close the cone. You can do without it, but why would you?
Fish roe. Either: Tobiko (flying fish roe), ikura (salmon roe), kazunoko (herring roe) or masago (smelt roe)
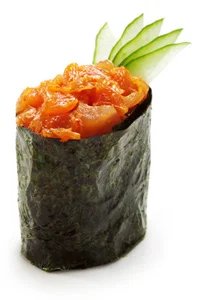
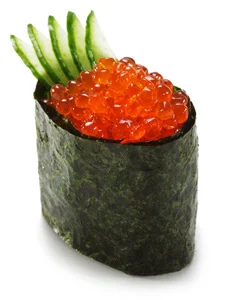
How to make Gunkan maki sushi
“Nori preparations”
Take a regular nori sheet and cut a long strip of it. Cut it about 4 cm high long strip.
“Getting busy with rice”
Make a ball of rice, about the size of ping-pong ball, and place it in the center of the nori. It should be in one line with the lower margins of the nori strip, since it is about to make a base for the gunkan maki.
“The cover-up.”
Cover it up. Gently but tightly, close the nori on the rice ball from all around it, squeezing it a bit to make the nori glue well with the rice.
“I don’t give a flying fish!”
Take a tablespoonful of Tobiko (flying fish roe), ikura (salmon roe), kazunoko (herring roe) or masago (smelt roe). It is suggested to use fish roe in this dish, but sushi is all about creativity.
Step 5 – “Well done!”
Hope you like it. Check out our recipe for tobiko and quail yolk gunkan maki sushi. It’s delicious!