

The traditional Hawaiian “Spam Musubi Sushi” has many different variants you might come across. Some are sweeter while some saltier. Some use more rice or more spam. The following guide unfolds the steps to prepare a “simple” yet beautiful and delicious version of the popular dish.
Special tools required:
How to Make Spam Musubi Sushi
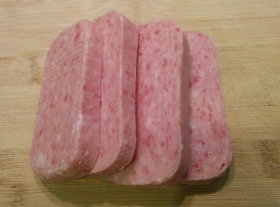
- First thing you want to do is cook the rice in advance, and let it cool for a few minutes. If you have it, it’s best to use short grain sushi rice, but regular rice should also be fine in this case. While the rice is cooling, you can start preparing the spam. Take it out of the can (it helps to make a tiny hole in the back of the can for easy release) and place it your cutting board. Slice to about 3cm (1.2 inch) thick slices, should make for 4 slices with the 340gr (12 OZ) package.
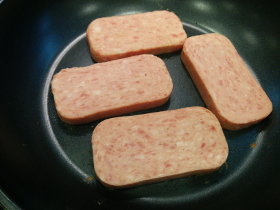
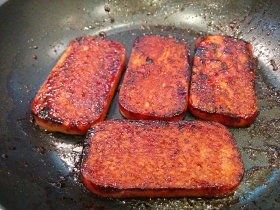
- Place the spam sliced on a pan on high heat, and fry both sides for 2-3 minutes until crispy and brownish. No need to add oil, the spam itself will take care of that.
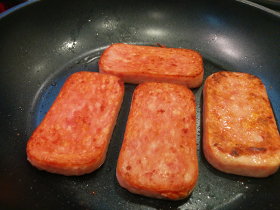
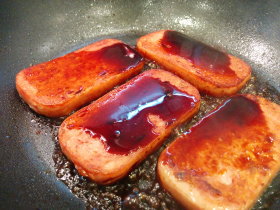
- Now pour some soy sauce on the spam according to taste, one tablespoon per slice should be a good starting point. The more soy sauce you add the salty it’s going to turn. Some variants of Spam Musubi use teriyaki sauce instead of soy, or simply add sugar to the soy before pouring. Fry for another minute from each side, letting the soy condense and burn just slightly. You’ll notice the spam turns much darker and crispier.
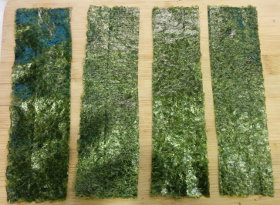
- Cut the nori sheet into 4 equal size strips. It helps to first cut in half, placing one half on top of the other and cutting in half again.
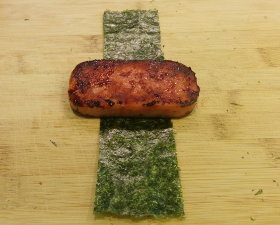
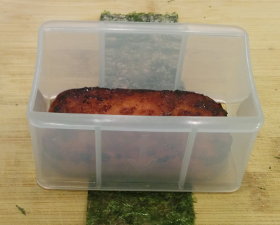
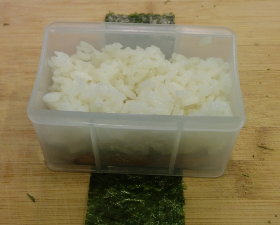
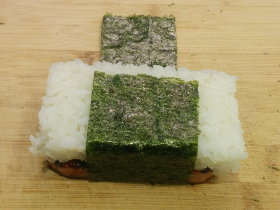
- Let’s start making the first musubi. Take one strip of nori, and place with the rough side facing up. Take a fried slice of spam and place exactly in the middle of the strip. The spam should be fairly sticky and messy at this point, so watch out. Place the mold around the spam slice, noticing it’s facing the right direction (the top can only be inserted from one side of the mold). Put as much rice as you want in your musubi, you can use as much or little as you like.
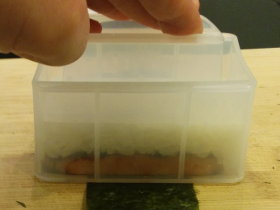
- Use the mold top to firmly press the rice in. Don’t be afraid to press hard, or the musubi will break easily. Remove the top and gently remove the mold and wrap the remaining nori around the rice. The first end should attach easily to the rice, but for the second one you should use a bit of water to make it stick.
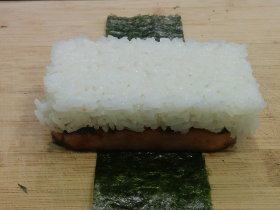
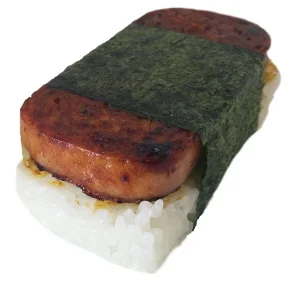
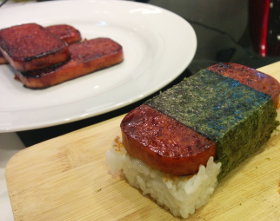
- Voila, your first musubi is ready. Isn’t it beautiful?


Final thoughts
That’s it, you’ve made it! For the sake of the internet, please take a moment to share your experience in the comments section below. Did it turn out as you expected? Better? Ask any question you have, someone should be able to answer and it might even help other people with the same question in the future. And most importantly, enjoy making sushi!

I loved the step by step instructions. Next time I need to press down harder, because mine fell apart, but they still were delicious.
I also cut the spam into 8 pieces, 4 seemed a little to thick.
Came out great! The instruction made were perfect!
Easy, simple, it worked great!
I have not made this recipe yet. I like the step by step instructions. This recipe seems simple to follow. Thank you.
Thank you very much for the exact directions and comments. The most helpful instructions I’ve ever received. I will try it out and comment more. ????????