Onigirazu is not exactly your common sushi, it’s not really a sandwich either. It’s, something in between. In a good way. The following recipe is a great idea for a snack for the road, or a day in school / office. You can change almost every ingredient included to suit your preferences and desires so please – go wild.
Check list
You will need the following ingredients to make your own Spicy (canned) tuna Onigirazu sushi sandwich:
- A nori sheet per Onigirazu
- Vinegared sushi rice, 1/3 cup per Onigirazu
The following are optional, and you can see them appearing in the following recipe:
- A can of tuna of your liking
- Some lettuce
- A few radishes
- Masago, if you can get it
For the spicy sauce:
- 1 tbs Mayonnaise
- 1 tsp chilli sauce (Huy Fong Sriracha will do just fine)
- 1 tsp toasted sesame oil
Let’s start with the spicy sauce
Mix the mayo, chilli and sesame oil together in a bowl until evenly mixed. At this point, some folks would add a bit of masago for crunchiness, you can if you want.
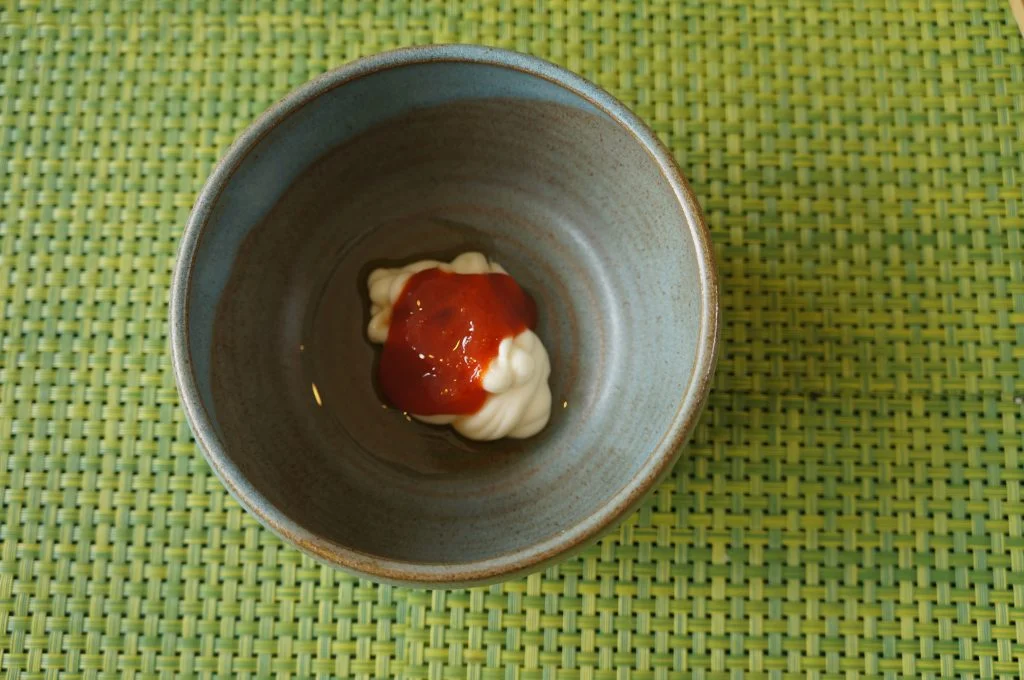
I like to use a single chopstick for mixing the sauce, as it’s a bit sticky and so a stick takes out less of the mixture then a fork or a spoon would.
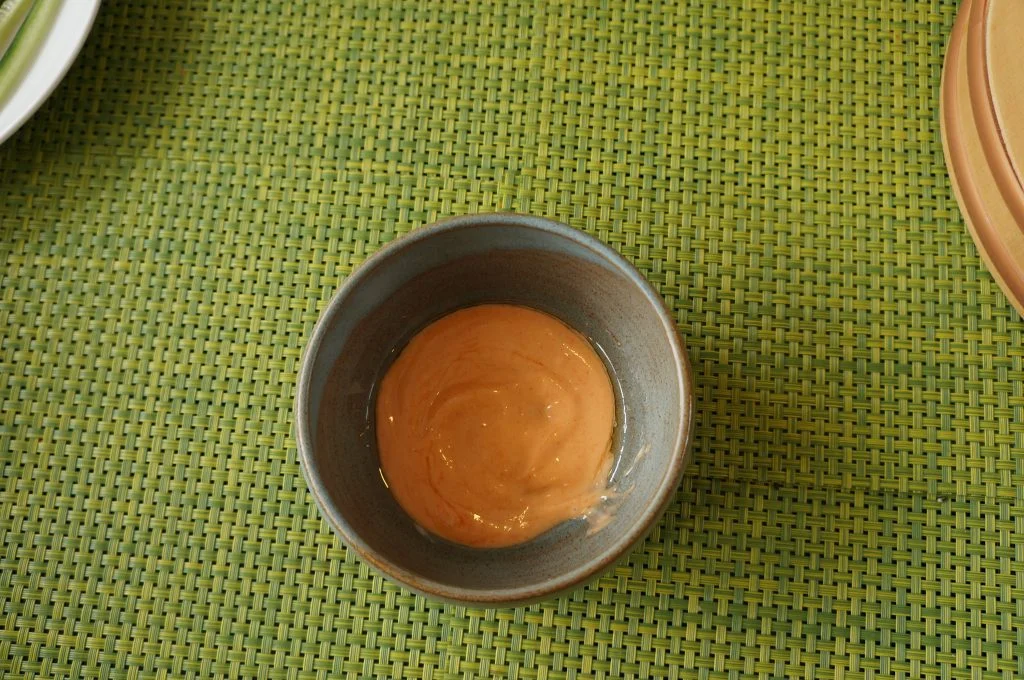
It’s not spicy tuna without tuna
Next open the can of tuna and filter out the excess liquids be it fresh spring water or unholy sunflower oil.
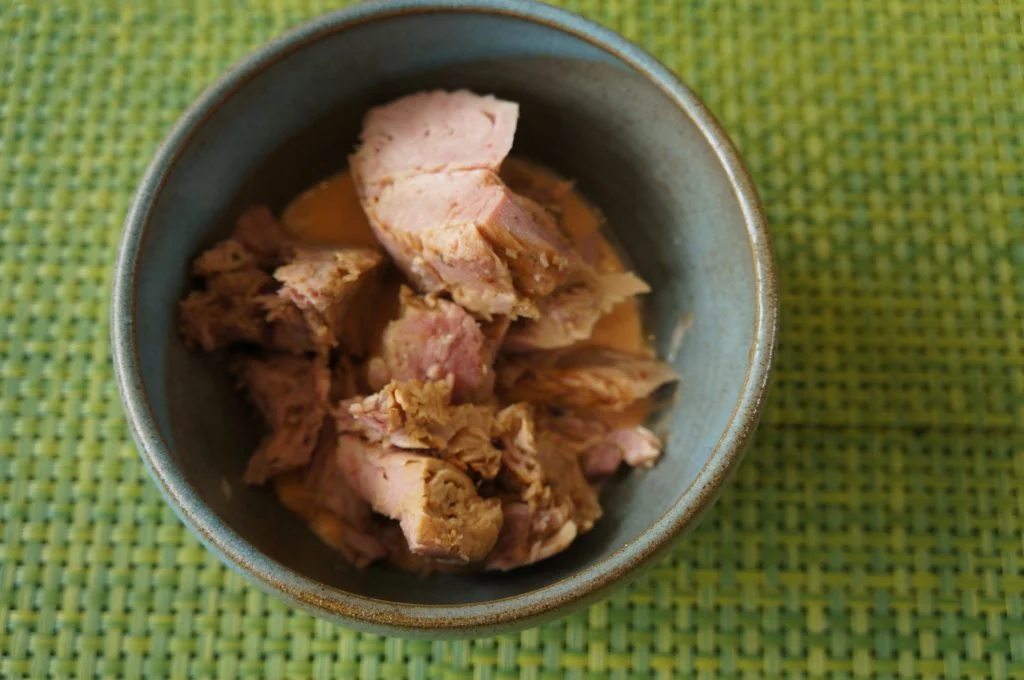
Add the content of the can to the sauce and mix. If the tuna is very chunky, break it down a bit so you the tuna can get good sauce coverage.
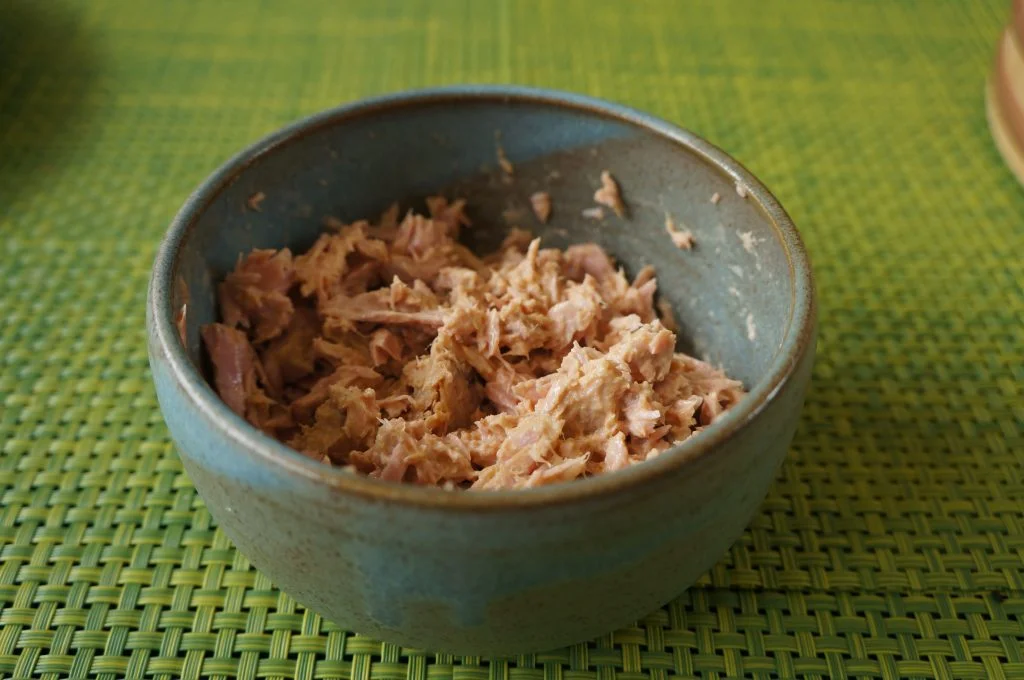
Got it looking like this? Nice!
Let’s make some Onigirazu
Preparing the Onigirazu is pretty simple, and you don’t need much in terms of equipment.
For your working area, you can use cutting board, or just any clean working area. Cut a piece of saran tape, about twice the size of your nori sheet. Place the nori on top of the saran tape with the rough side facing up.
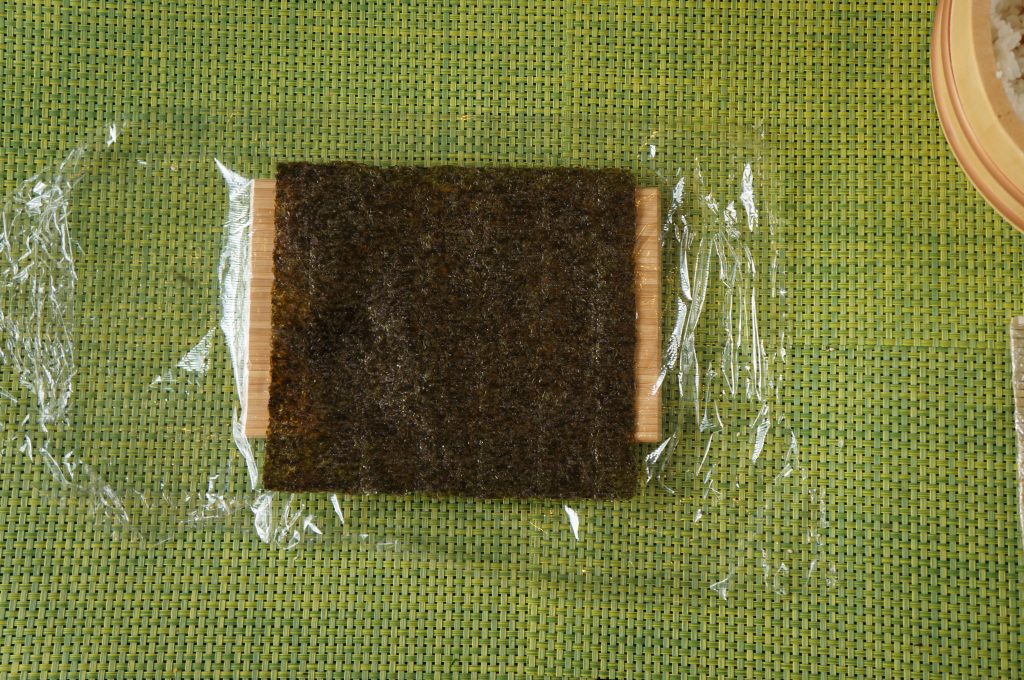
Stack it up
Now it is time to stack up the good stuff.
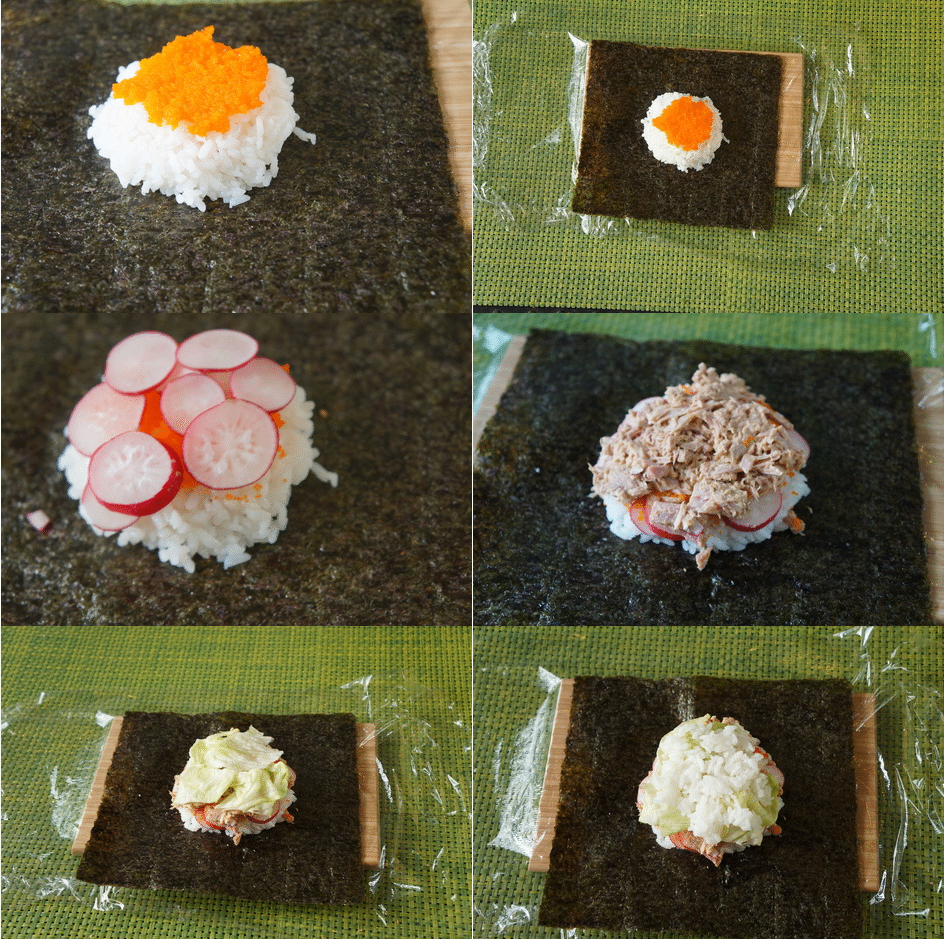
Grab a handful of vinegared sushi rice, with wet hands so it doesn’t stick as much, and form a ball. Press the ball of rice to the center of the nori to create somewhat of a patty. Start placing the ingredients on top of the rice patty, and press it a bit if required so that everything holds up nicely. I started by adding two spoons of masago, then a few slices of radish, the tuna, a few lettuce leaves and finish with a bit more rice on top.
The extra rice on top doesn’t have to be as much as the patty of rice you have at the bottom, but it’s important to have a good layer of rice to help seal the nori in a few moments.
It’s closing time
Start by pulling one corner towards the center, and press it slightly onto the rice layer. Because the nori is dry and the rice is moist, it should hold on nicely in place.
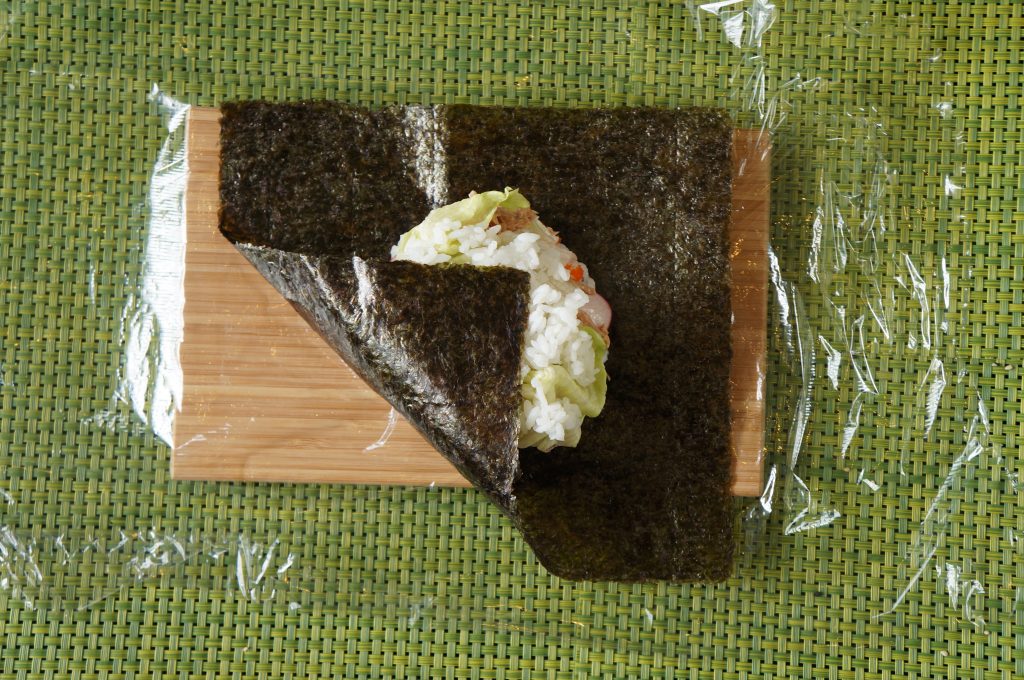
It is a good idea to have a bowl of water next to you when making sushi. In this case, if the nori is to crisp, and you are having trouble folding it without it breaking, use a dab of water to soften it.
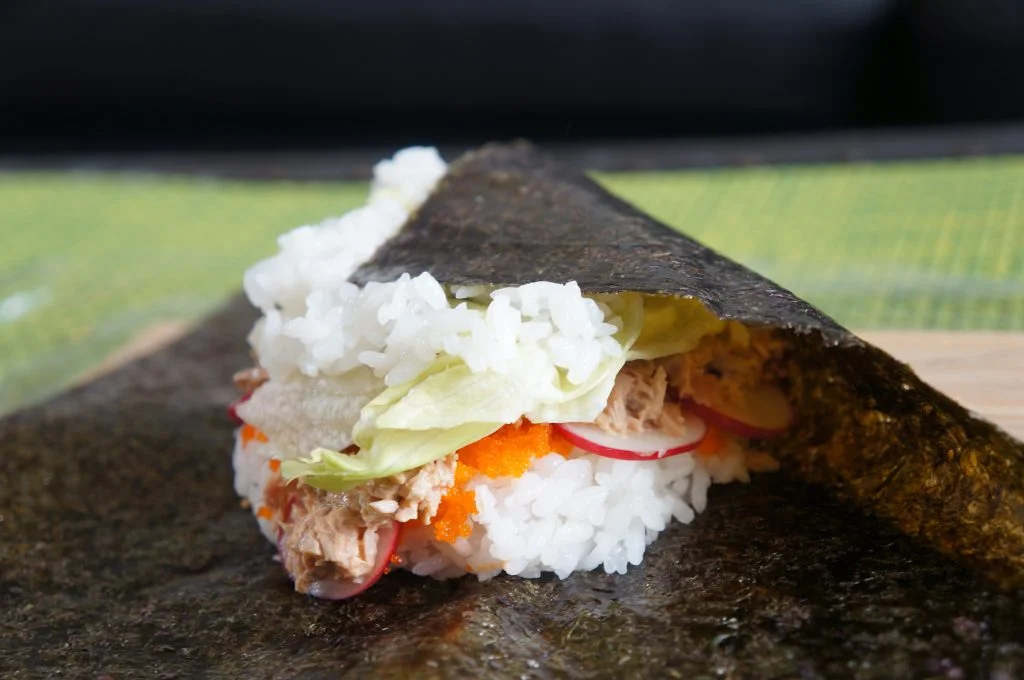
After folding the first corner, move on the the opposite one. The two corners should meet in the center if hadn’t used too much fillings. If the nori corners don’t stick right away, use a dab of water, that should help holding things together. Not too much though.
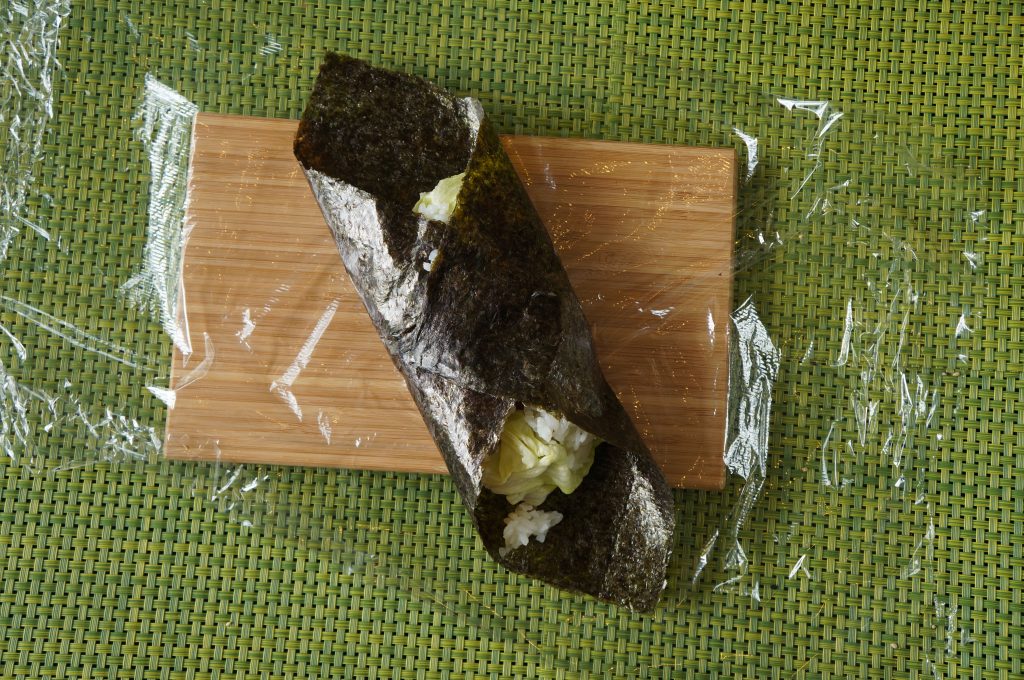
Now close the other two ends in the same way, use a bit of water where required. When closing the ends try to compress it a bit so it there isn’t too much ‘air space’ inside the Onigirazu. Once finished, wrap the saran tape around the Onigirazu sushi to keep it from losing moisture.
Dinner is served
When ready to eat, open the wrapping and cut the Onigirazu in 2 or 4 even parts, and have it as is or with your favorite sauce.
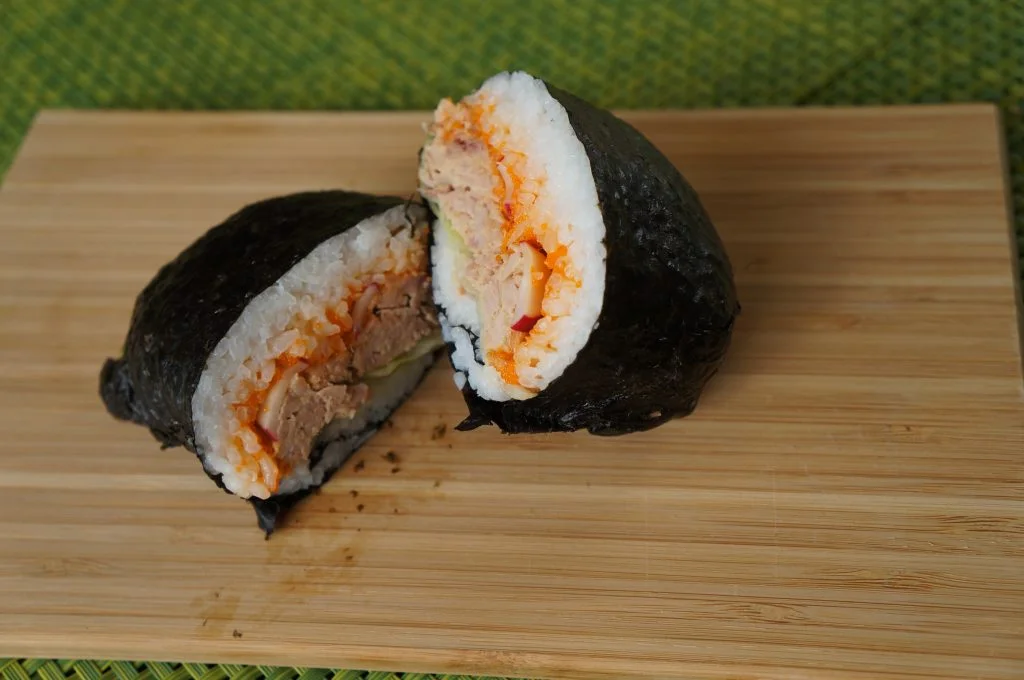
Did you like it? Have any good Onigirazu recipes of your own? Share your thoughts in the comments section below.


I’ve really learnt a lot here. I must comment this good work. I even have to organize some classes to teach my friends and there wonder how I got to know all these. I will try this as well. Thanks always.